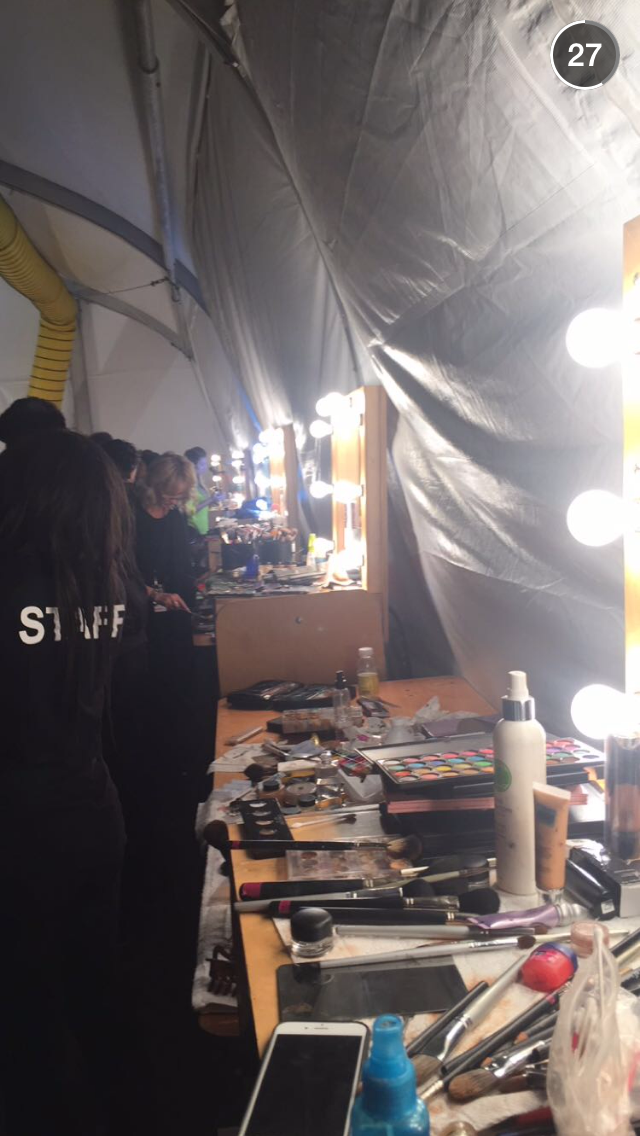
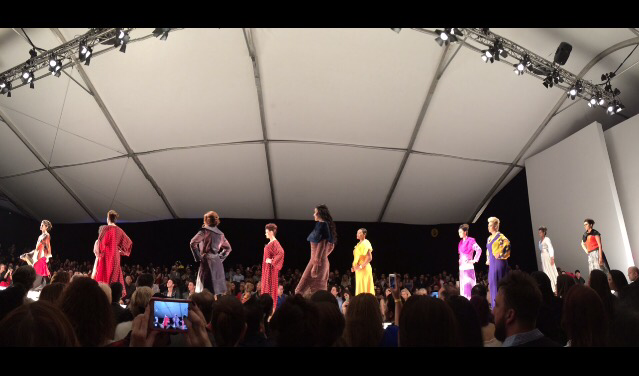
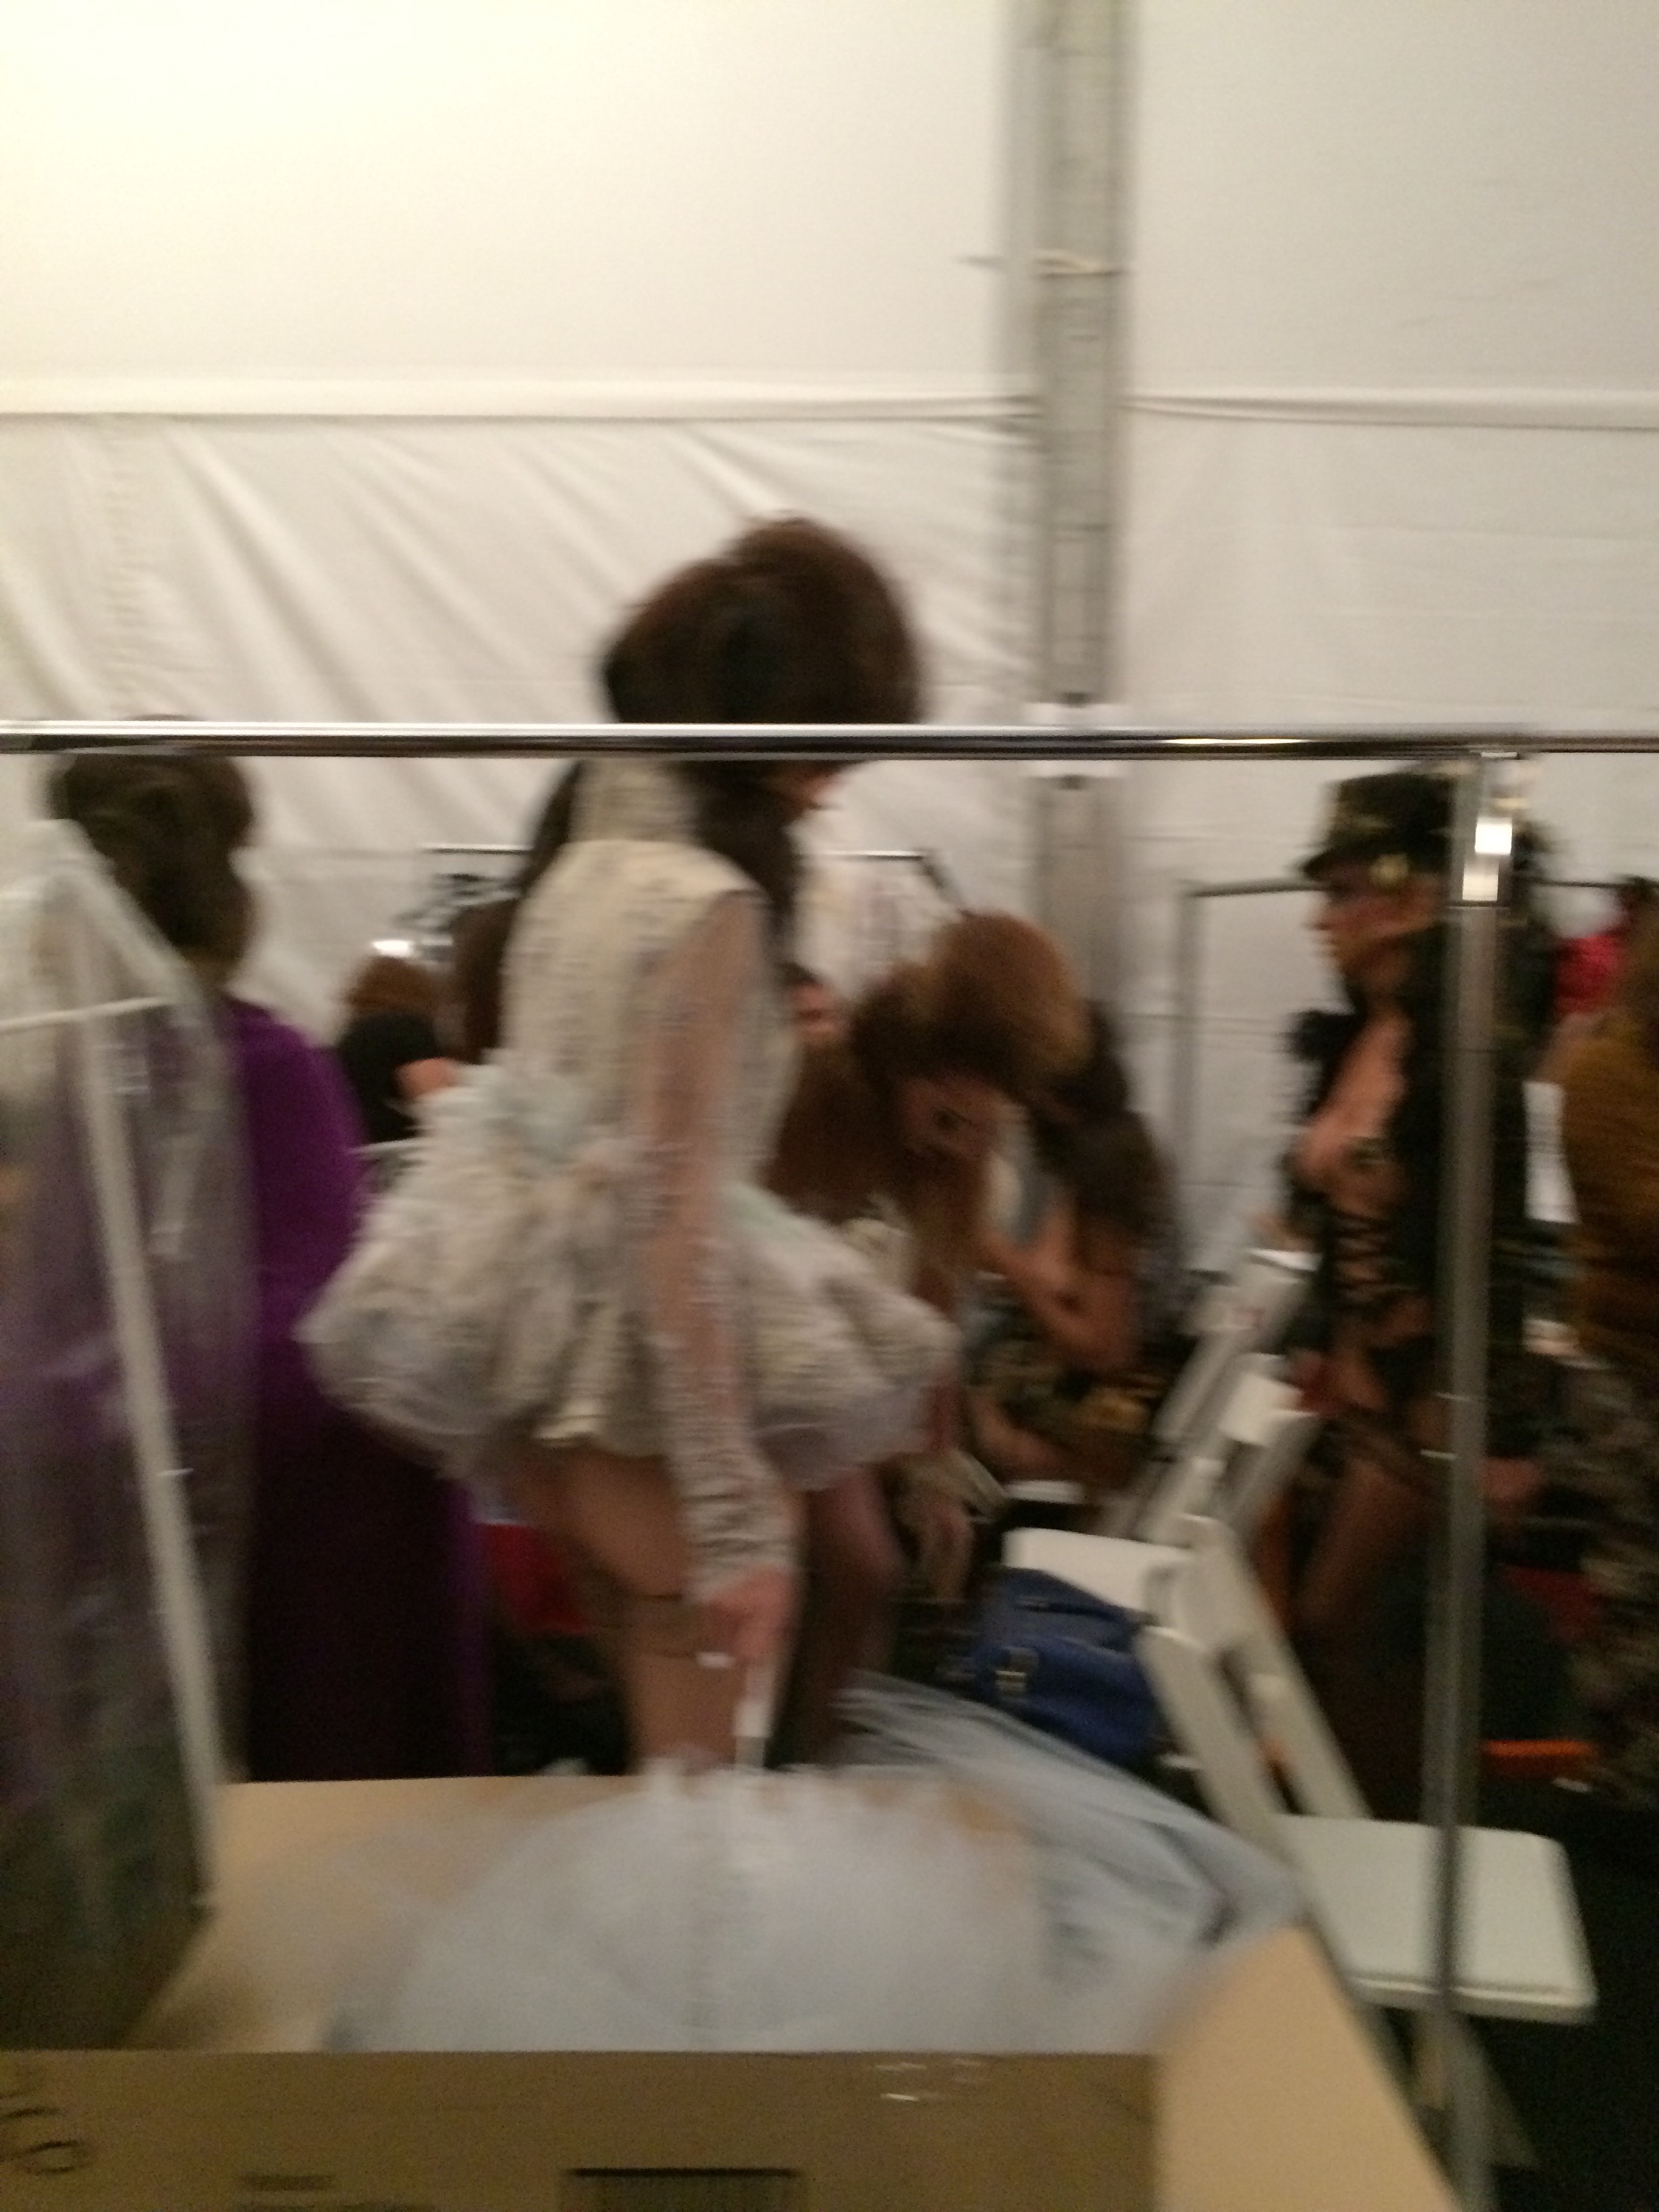
Hey guys! So yesterday I went to my first fashion show. It was at Style Fashion Week in LA. I viewed shows by Ophelia Song, Coco Johnson, and Tatiana Shabelnik. Unfortunately , I couldn’t stay for the grand finale which was a Red Dress show with dresses by designers such as Oscar de la Renta and Monique Lhuillier. However, I did get to see the dresses backstage and was stunned. Everything felt so surreal. I think the best part about it was that I go to experience both perspectives of a fashion show ; The ramp walk and Backstage where all the action happens. Backstage was so chaotic and productive. Every inch of space was being put to use and everyone was busy. There were hairdressers, make-up artists, designers, photographers, models all preparing for the show. Its astonishing how it takes hours and days to prepare for a 1 hour or less show. You truly gain a sense of respect for all the people who work backstage to make the show possible. However, My favorite aspect of the evening was the ramp walk. It felt like dream come true. I was so honored to be a part of such an event. It was such an exhilarating experience. To sit there, amongst designers and such affluent people to the fashion industry, was an unforgettable experience.
Backstage:

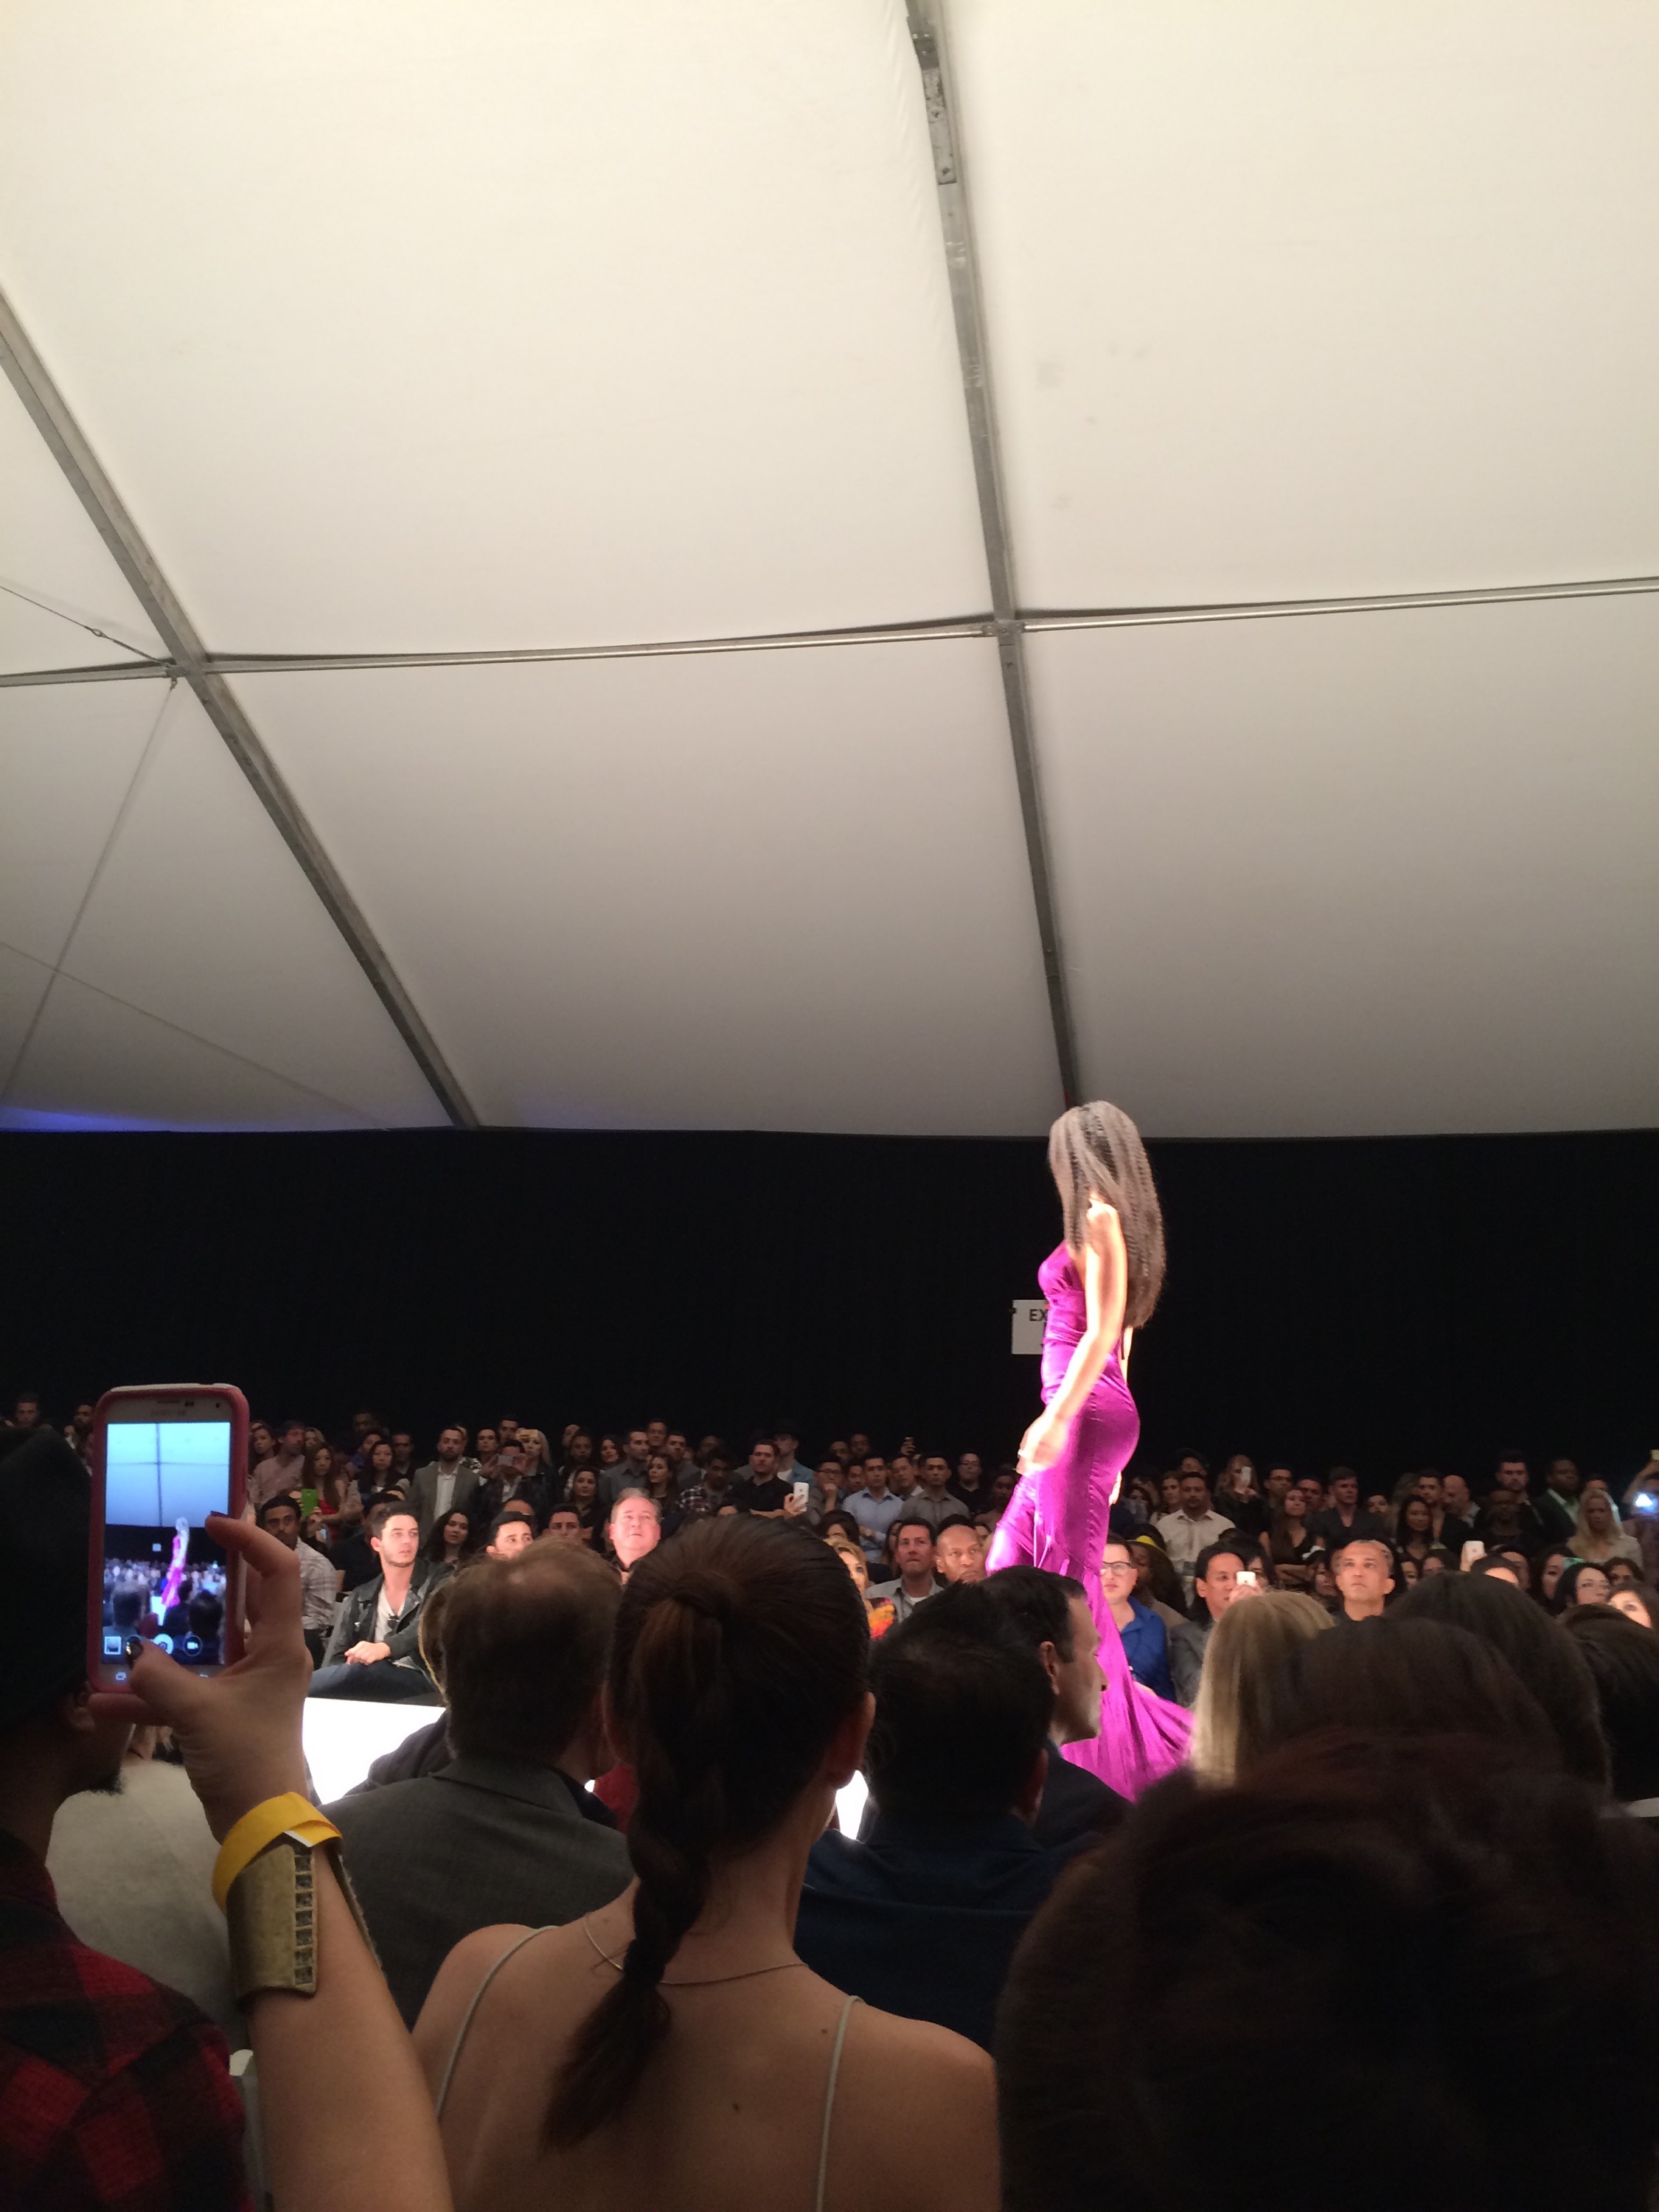
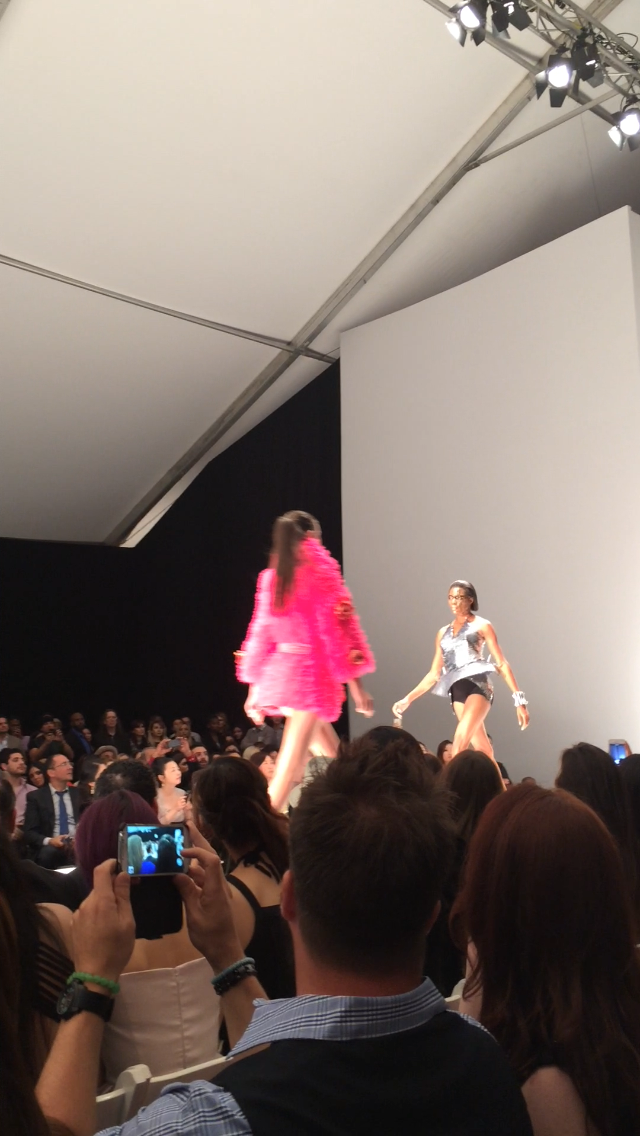
In the pink is designer Tatiana Shabelnik.

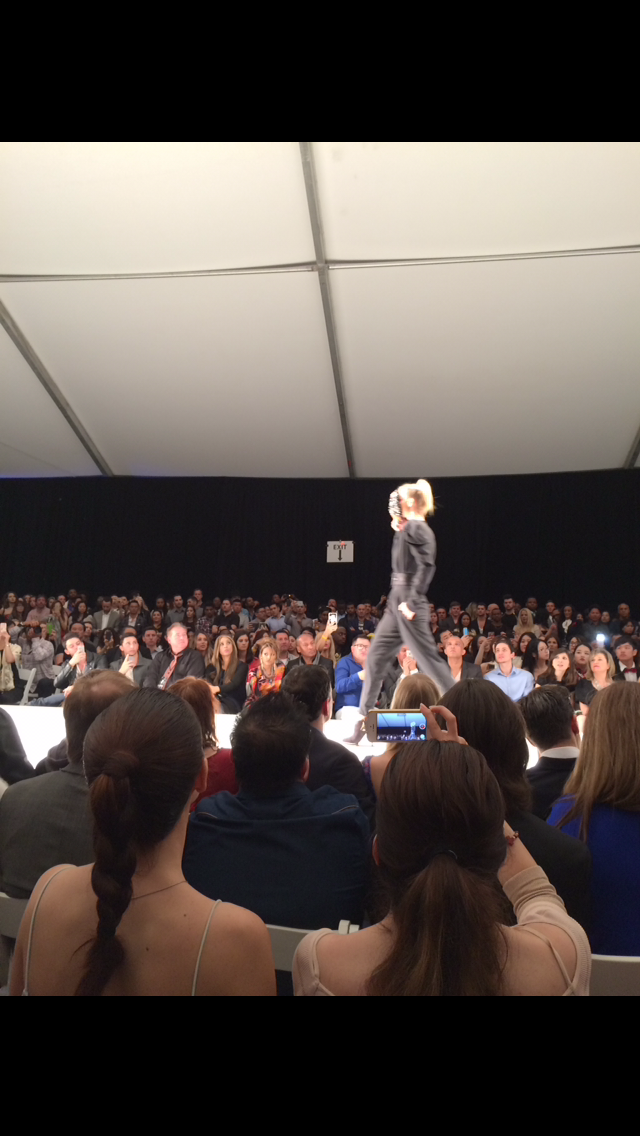
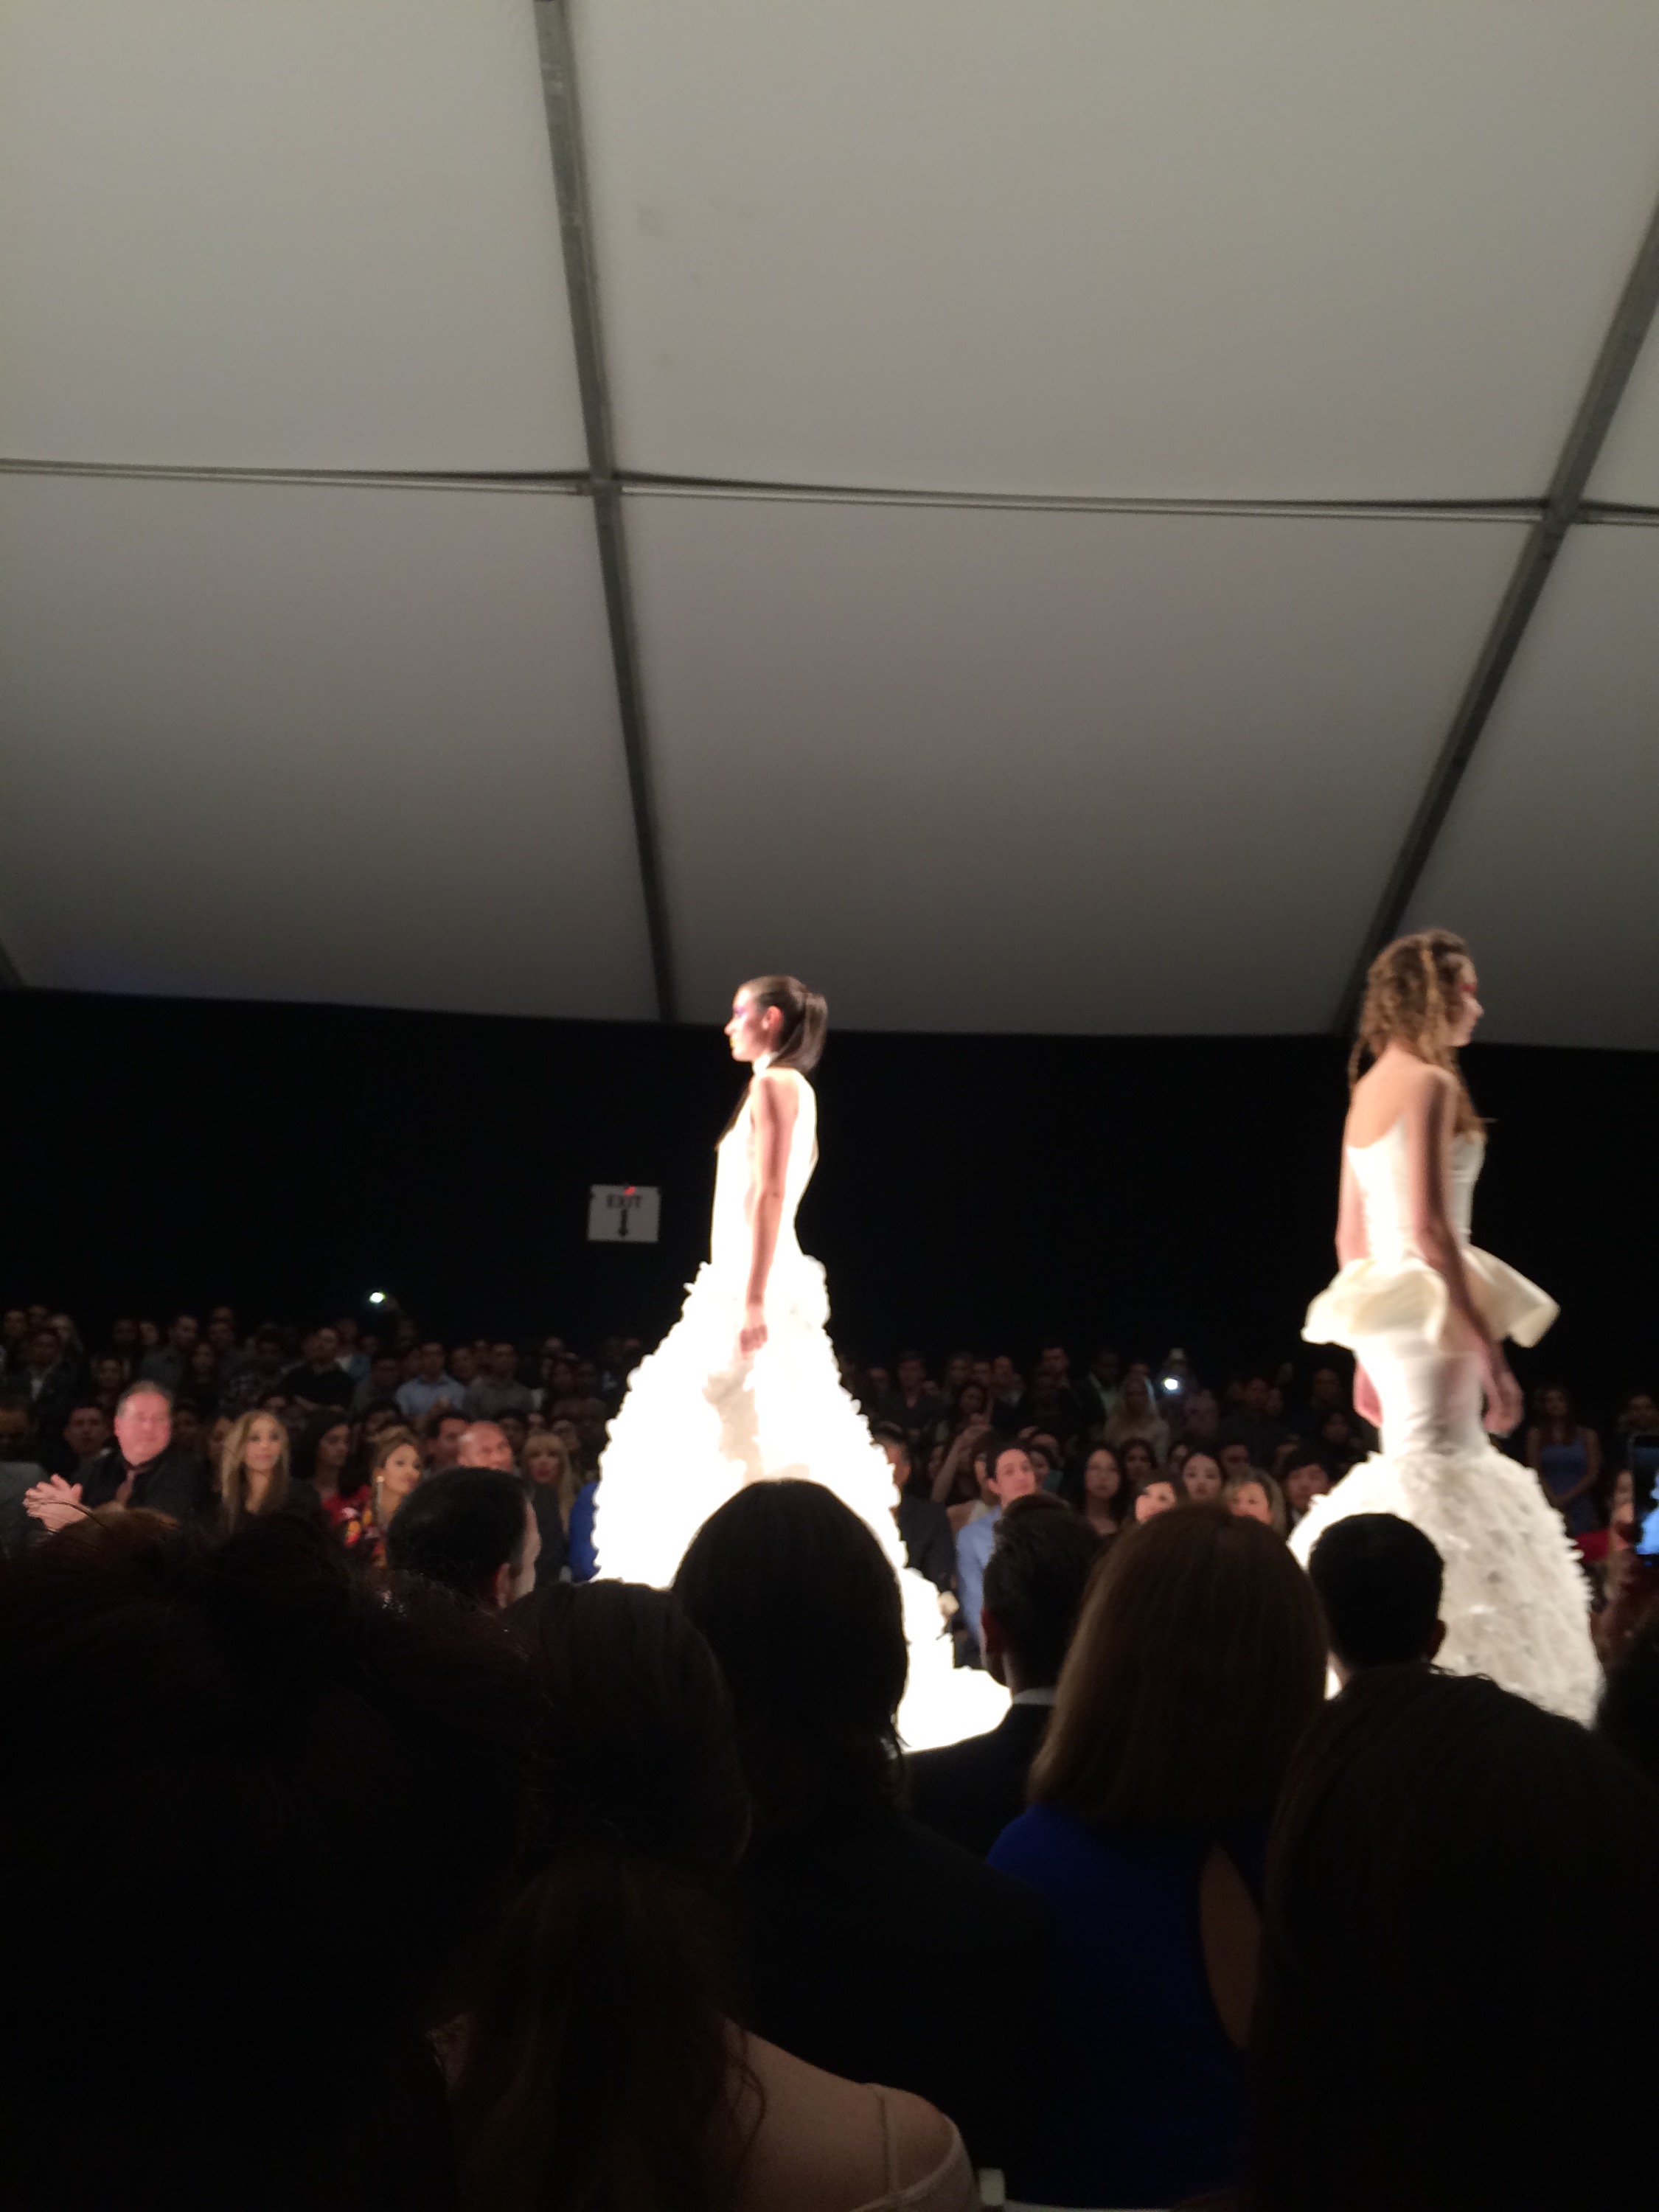
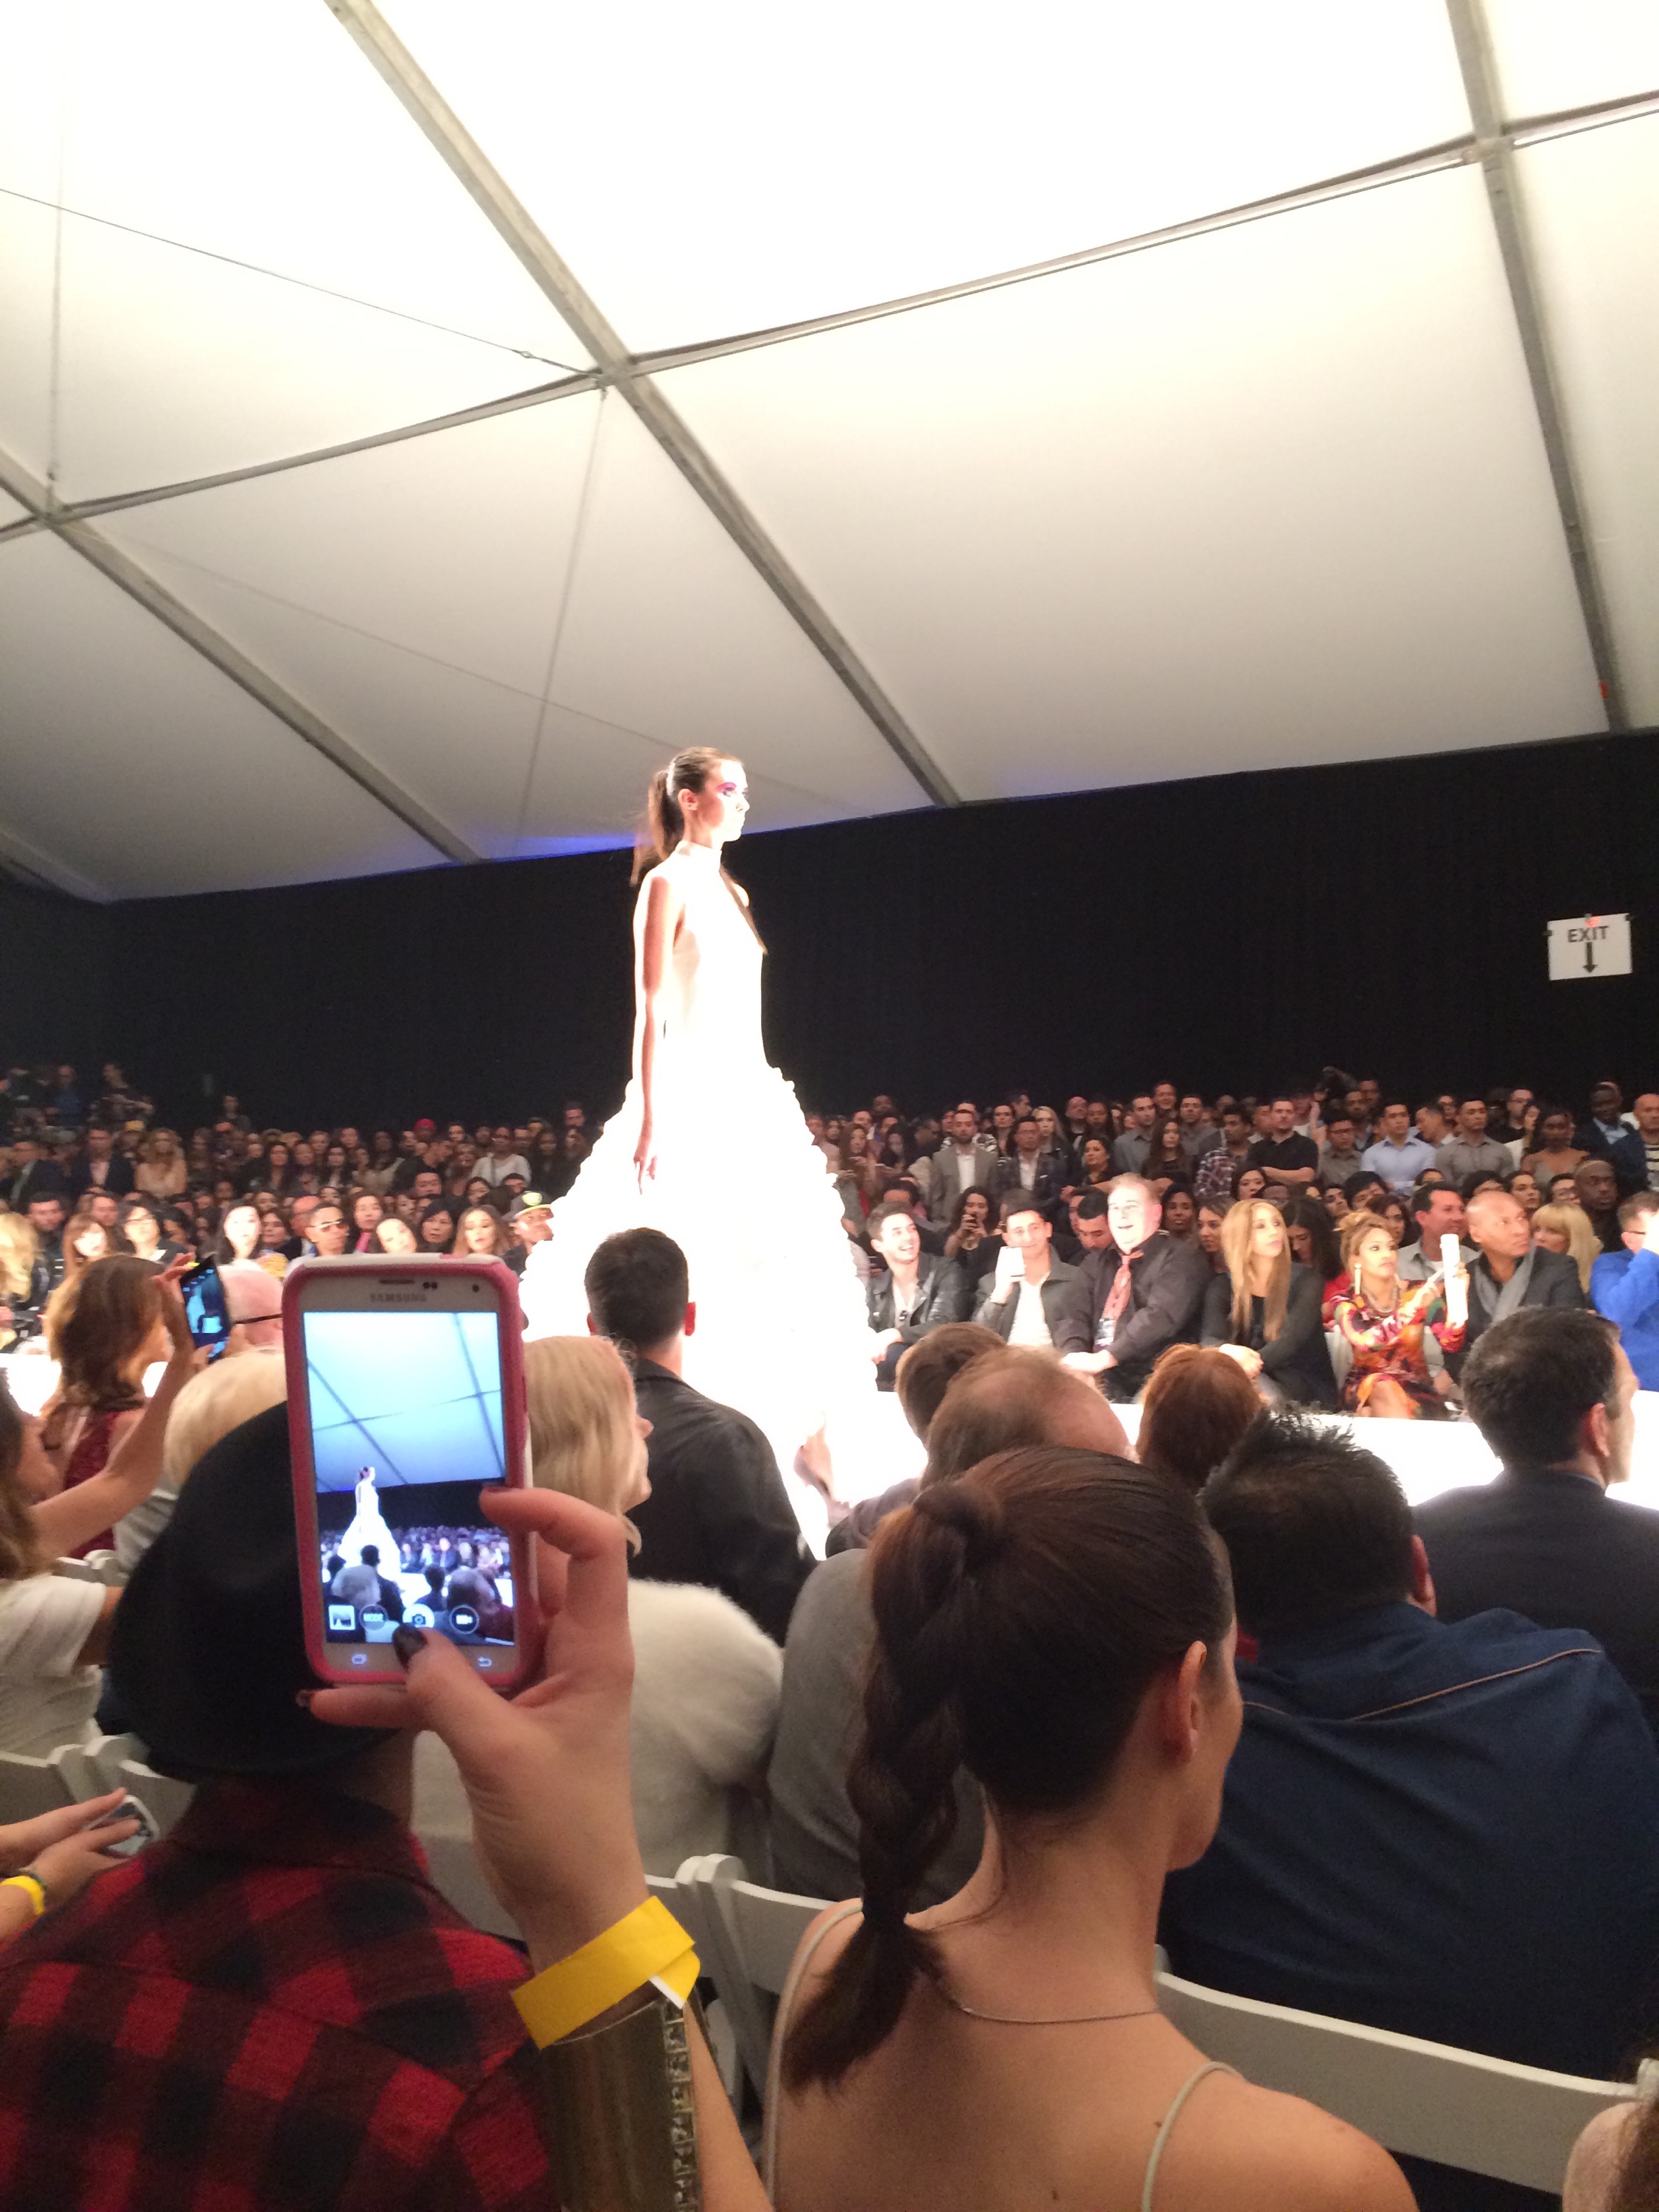
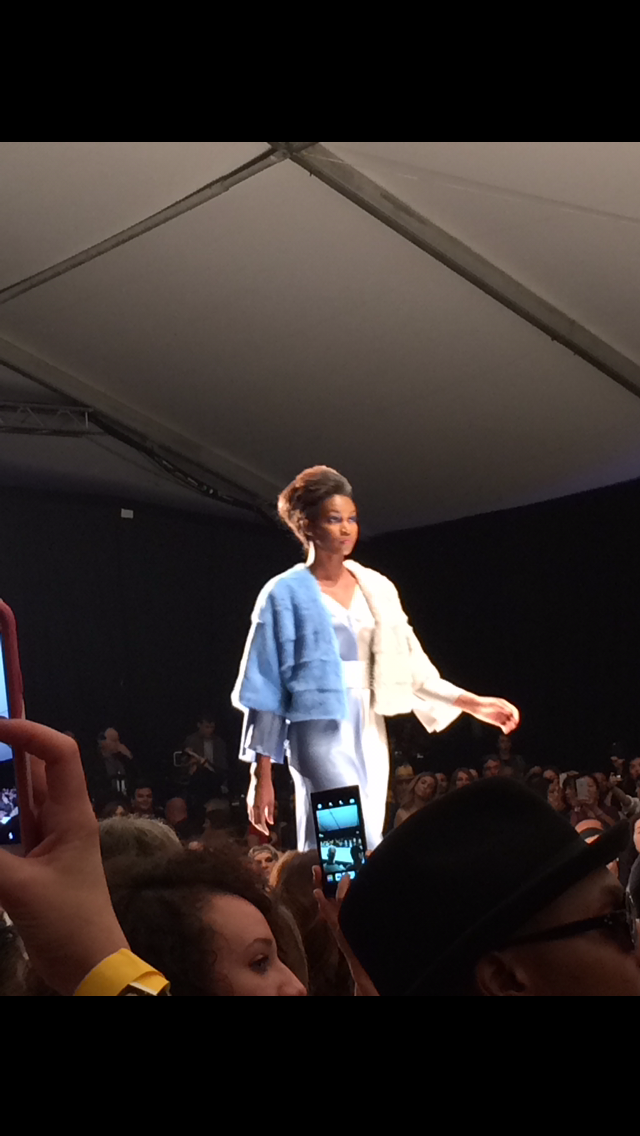
Ophelia Song
This show showcased clothing that were very soft and elegant. There were many aqua/blue shades, whites, and specks of black in the collection. It gave me a mermaid-y vibe .


<a

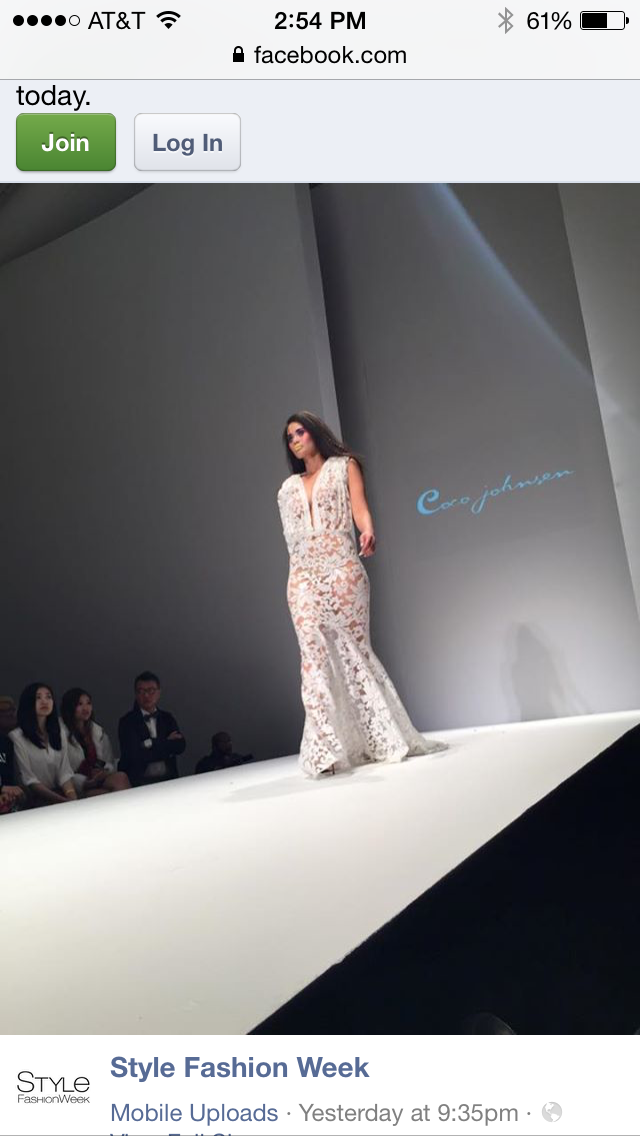
(This picture is not mine)
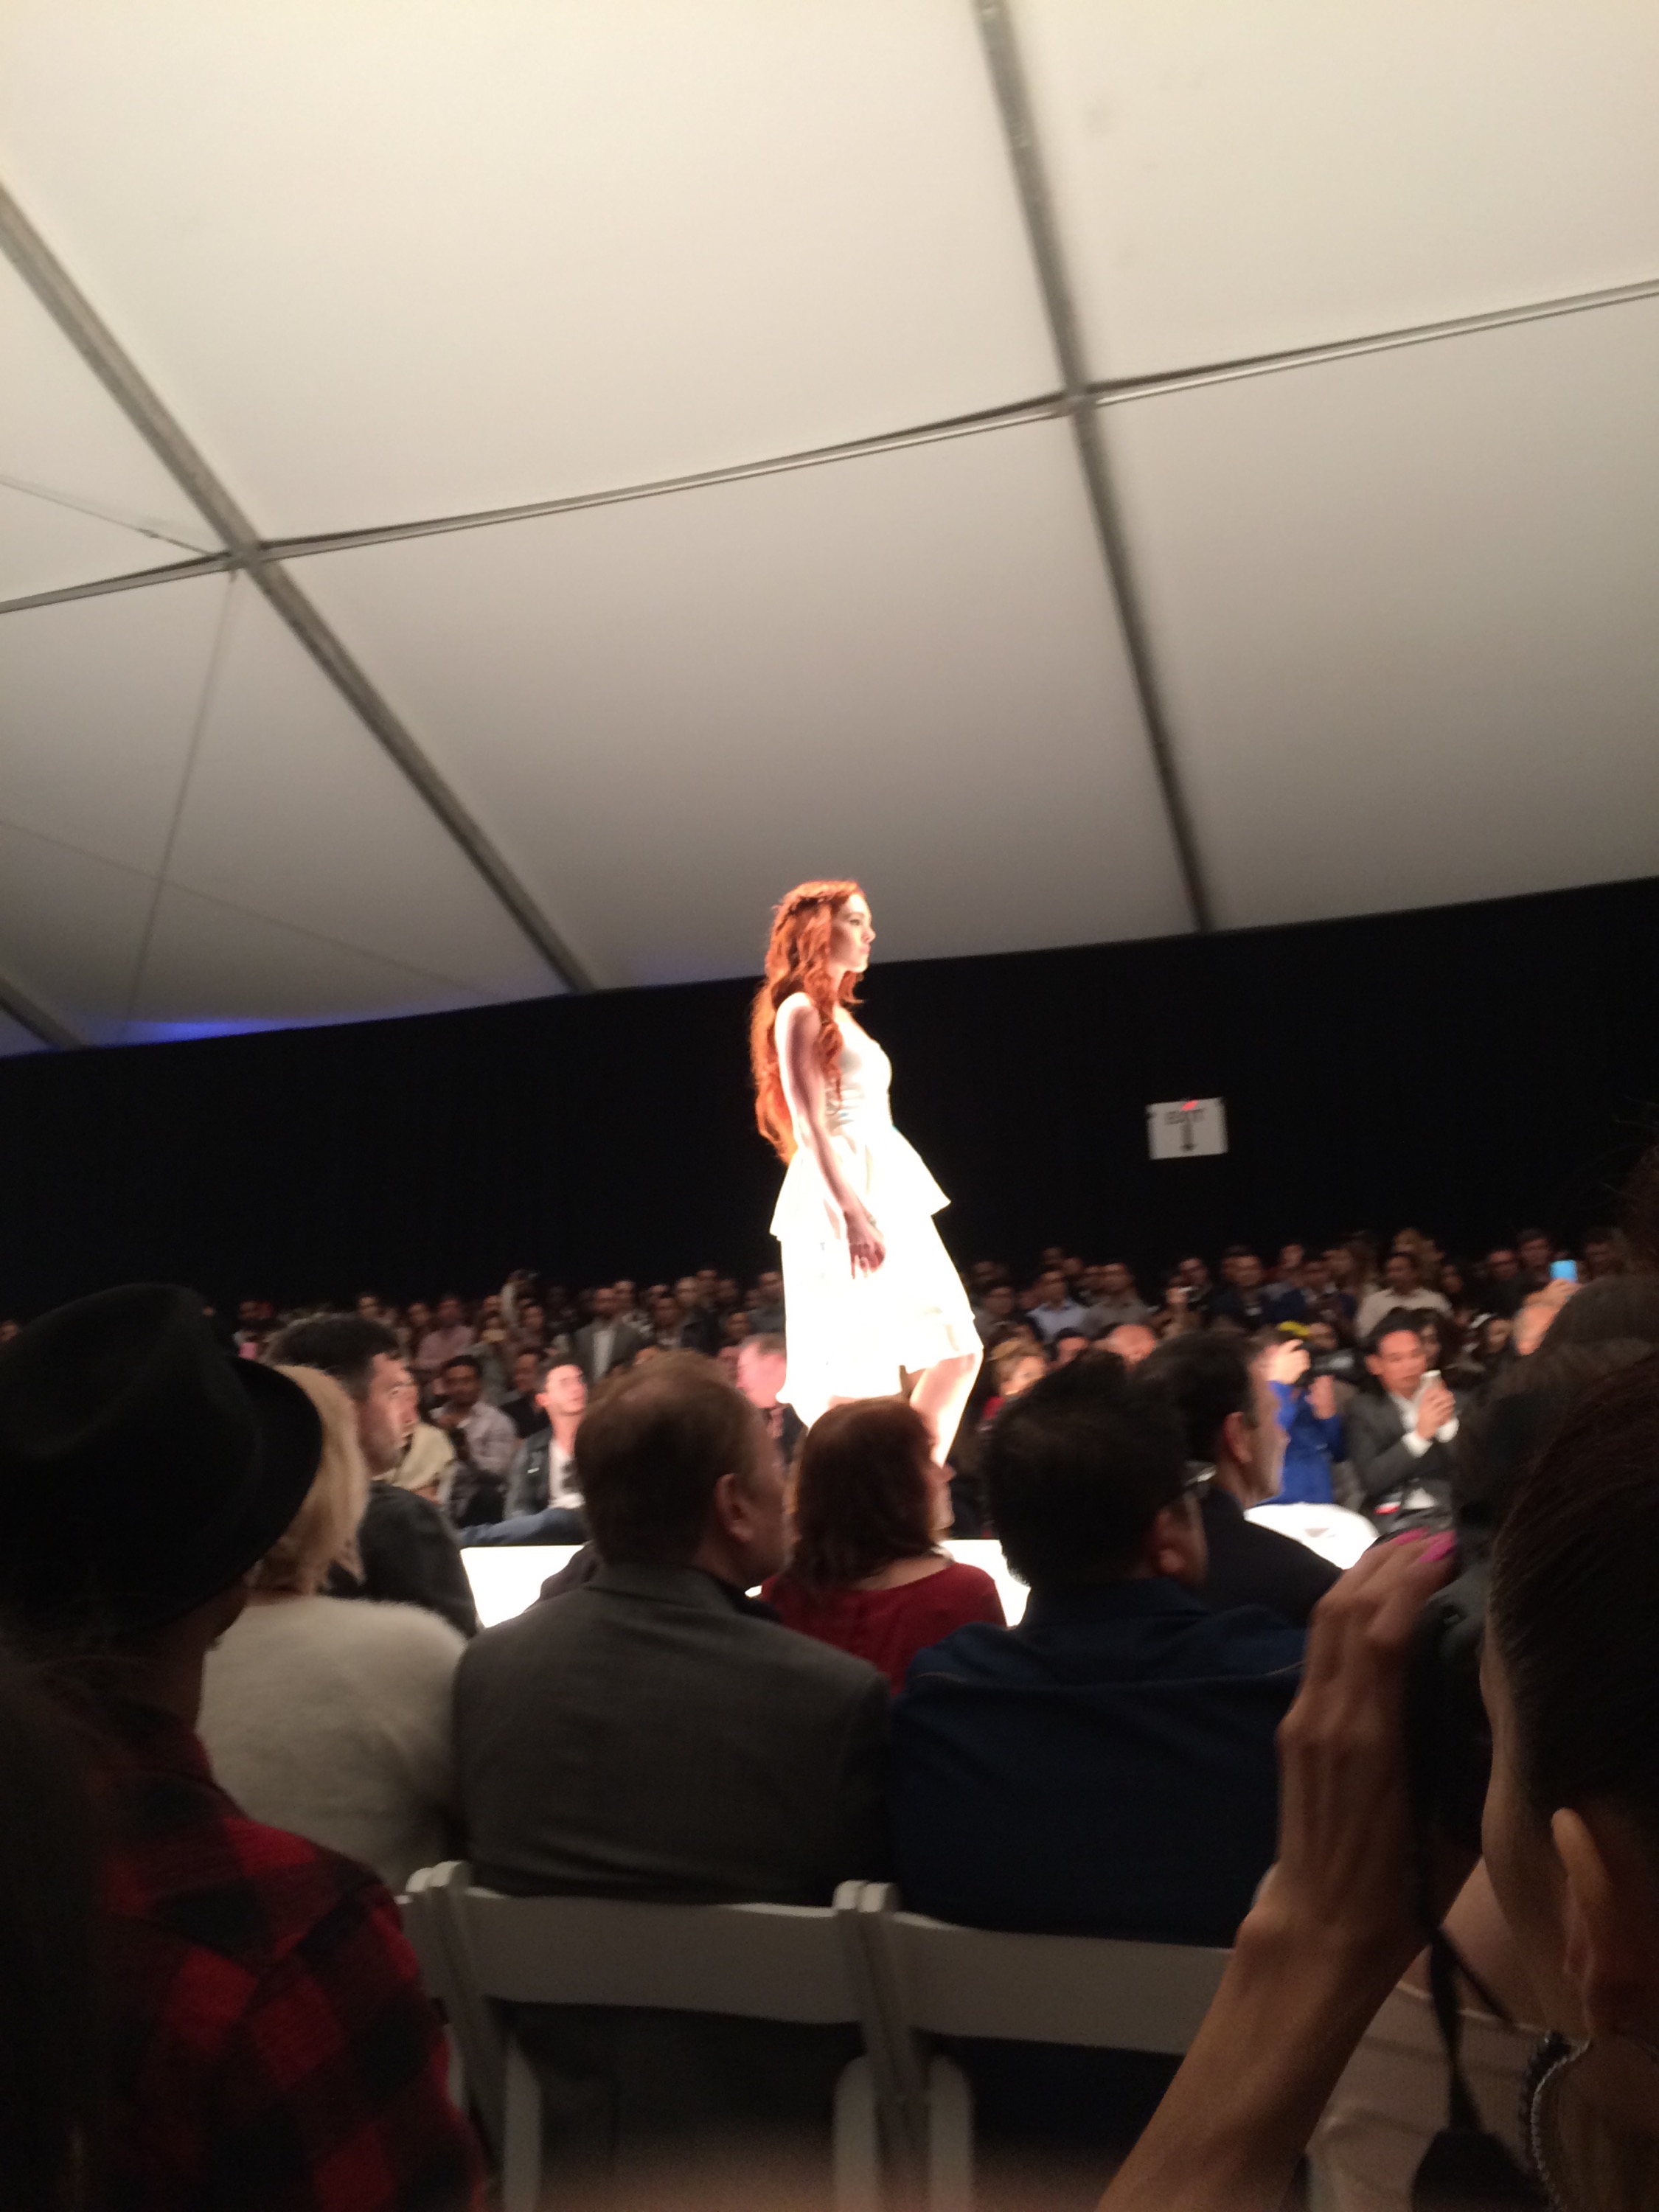
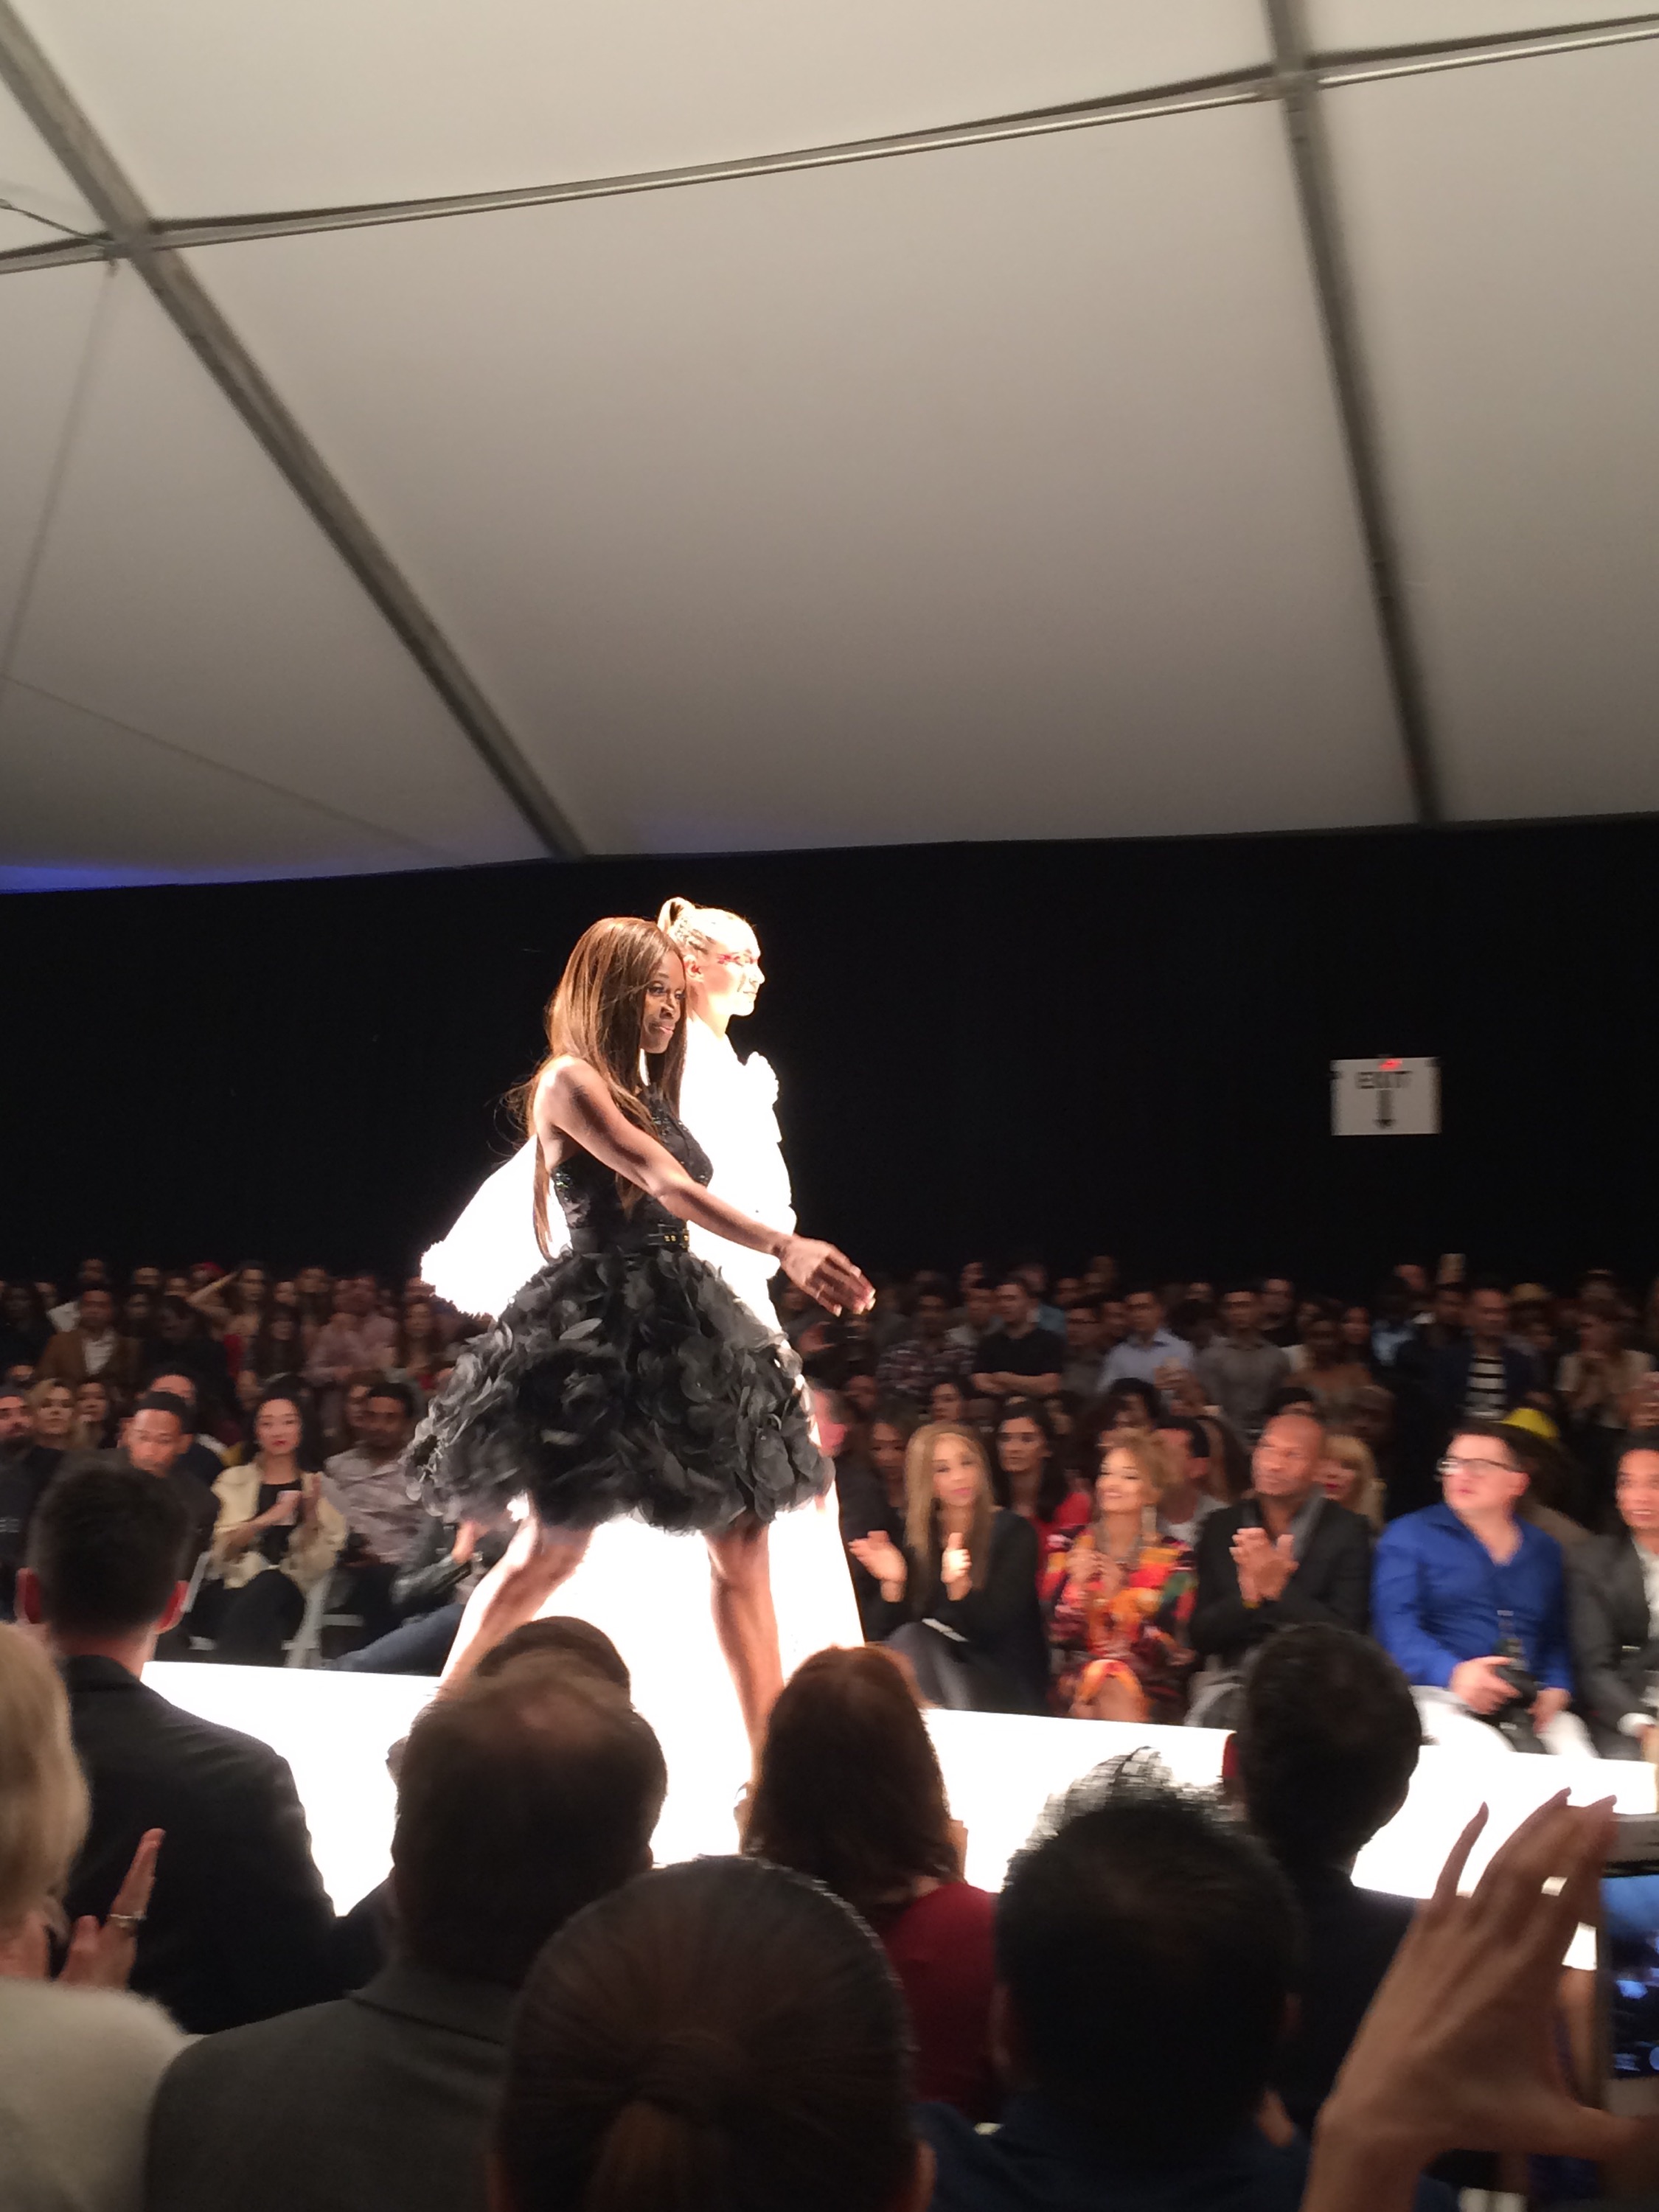
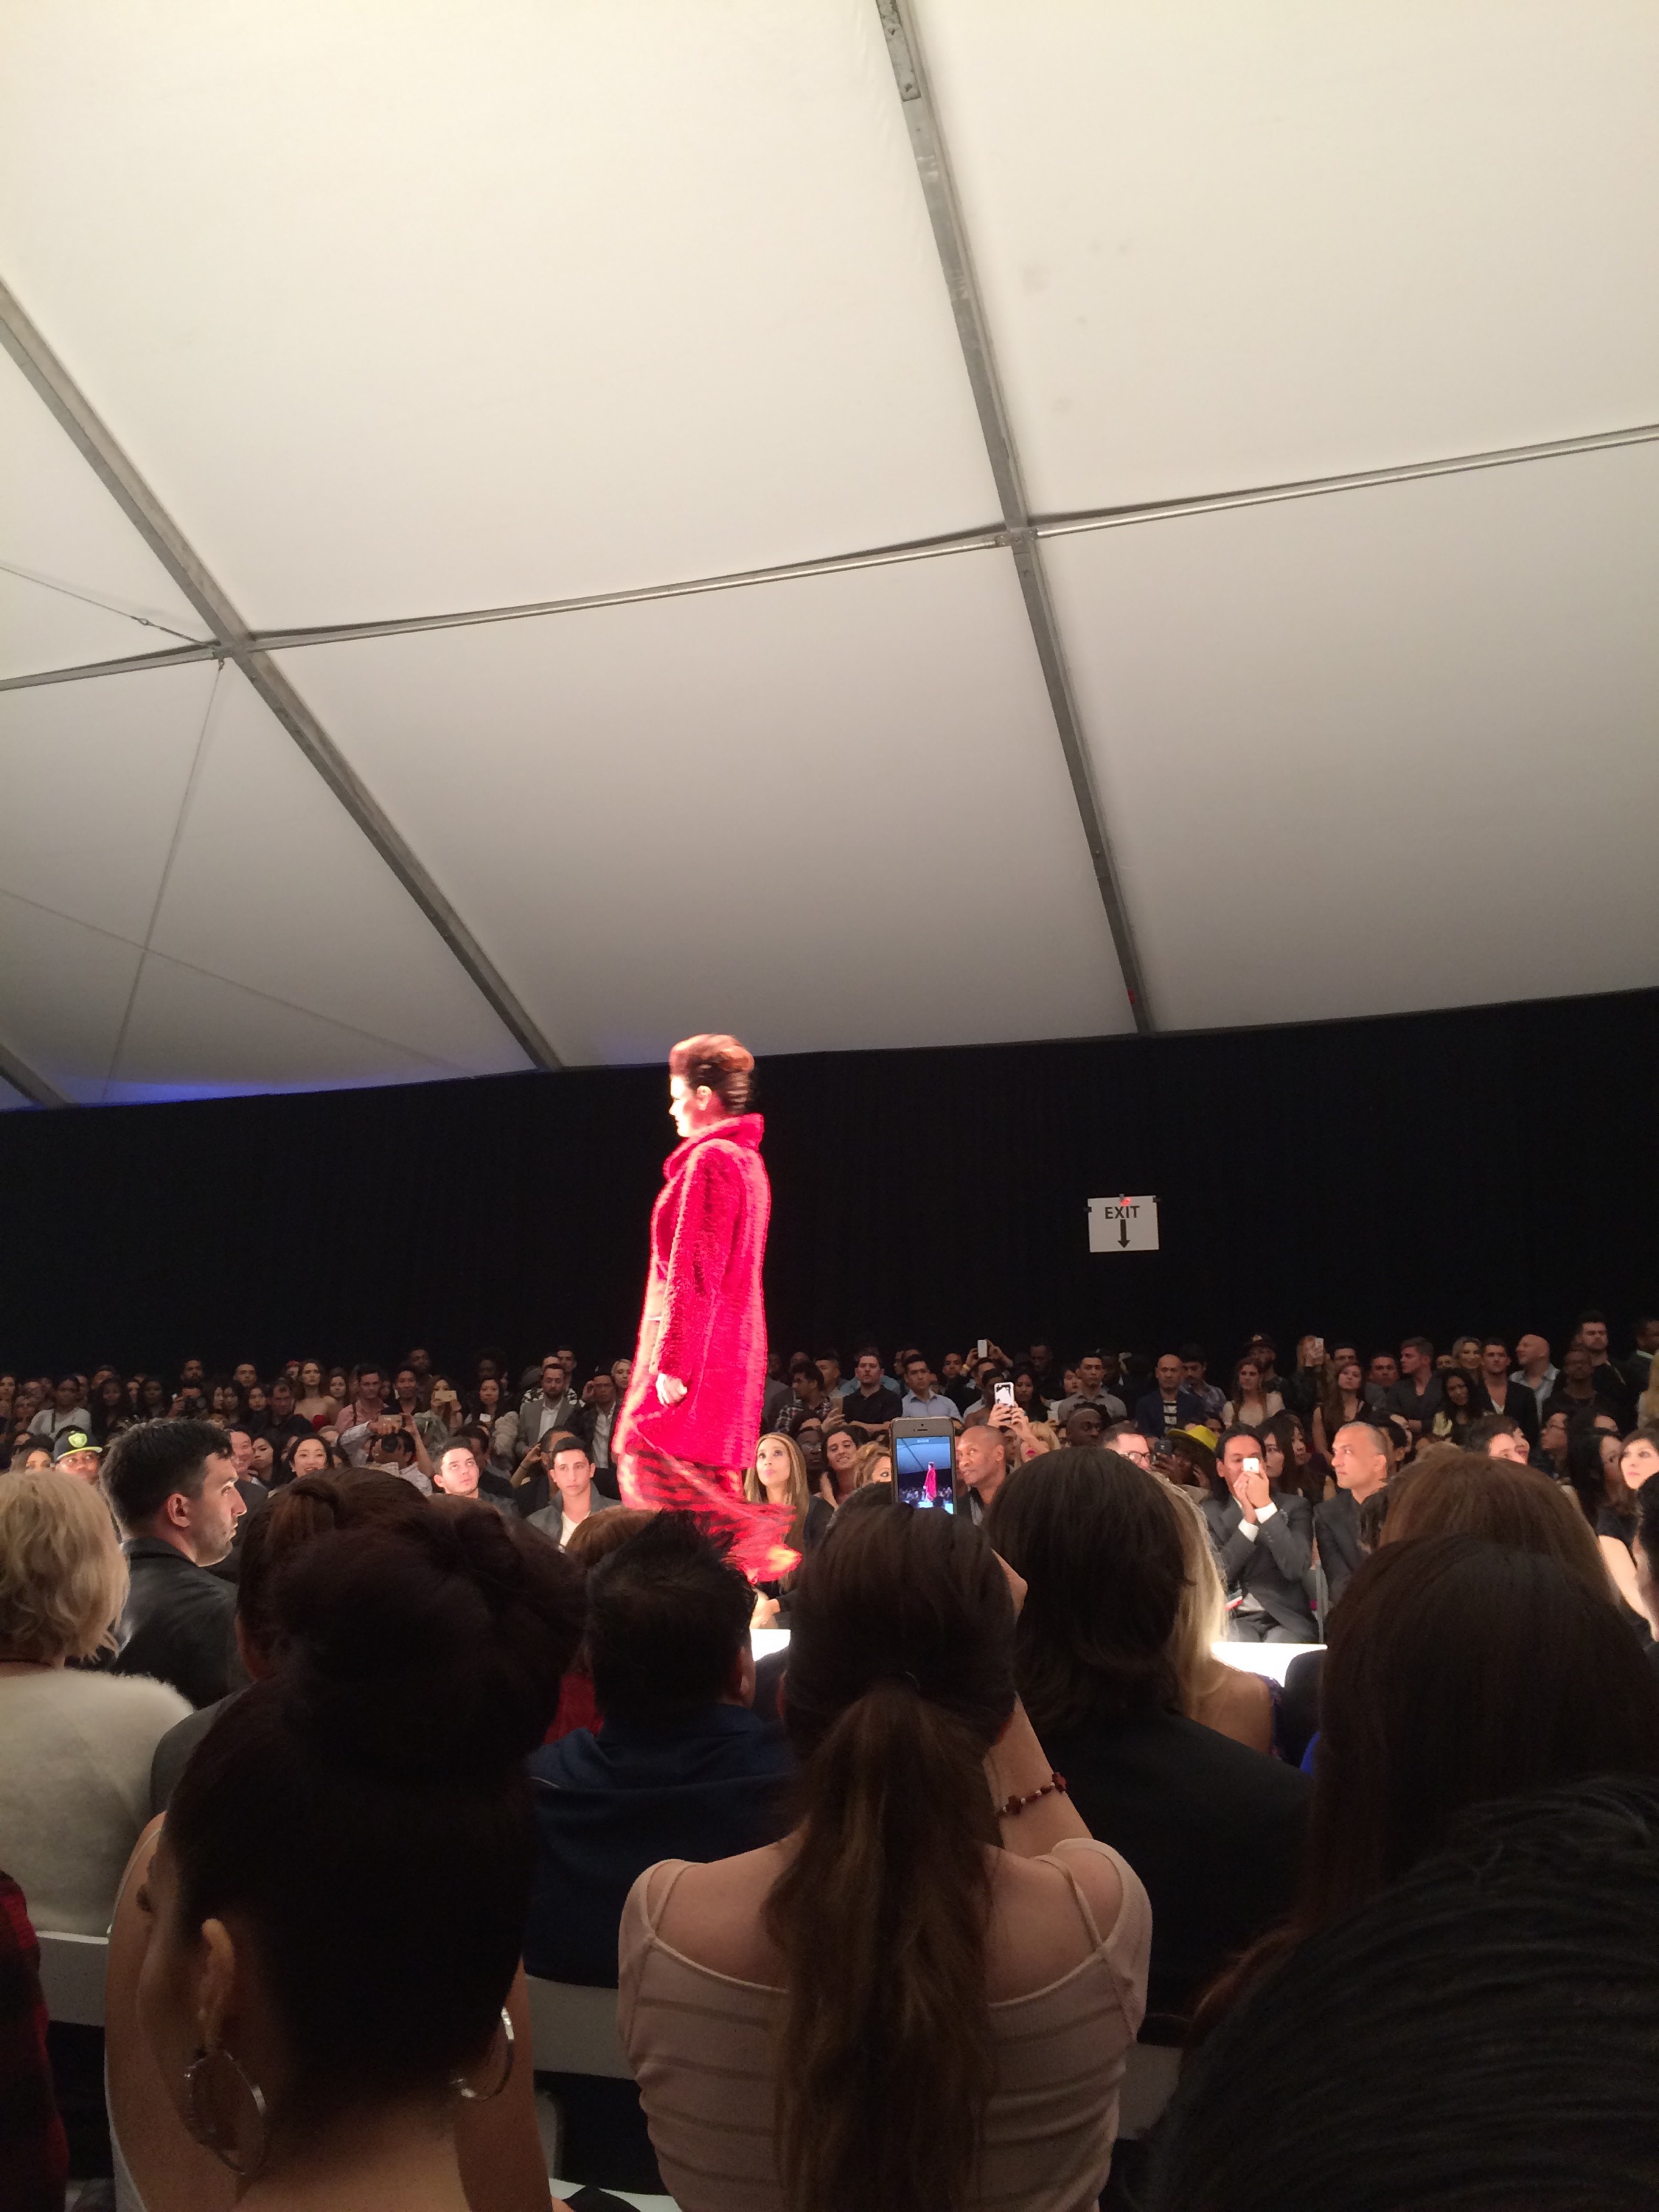
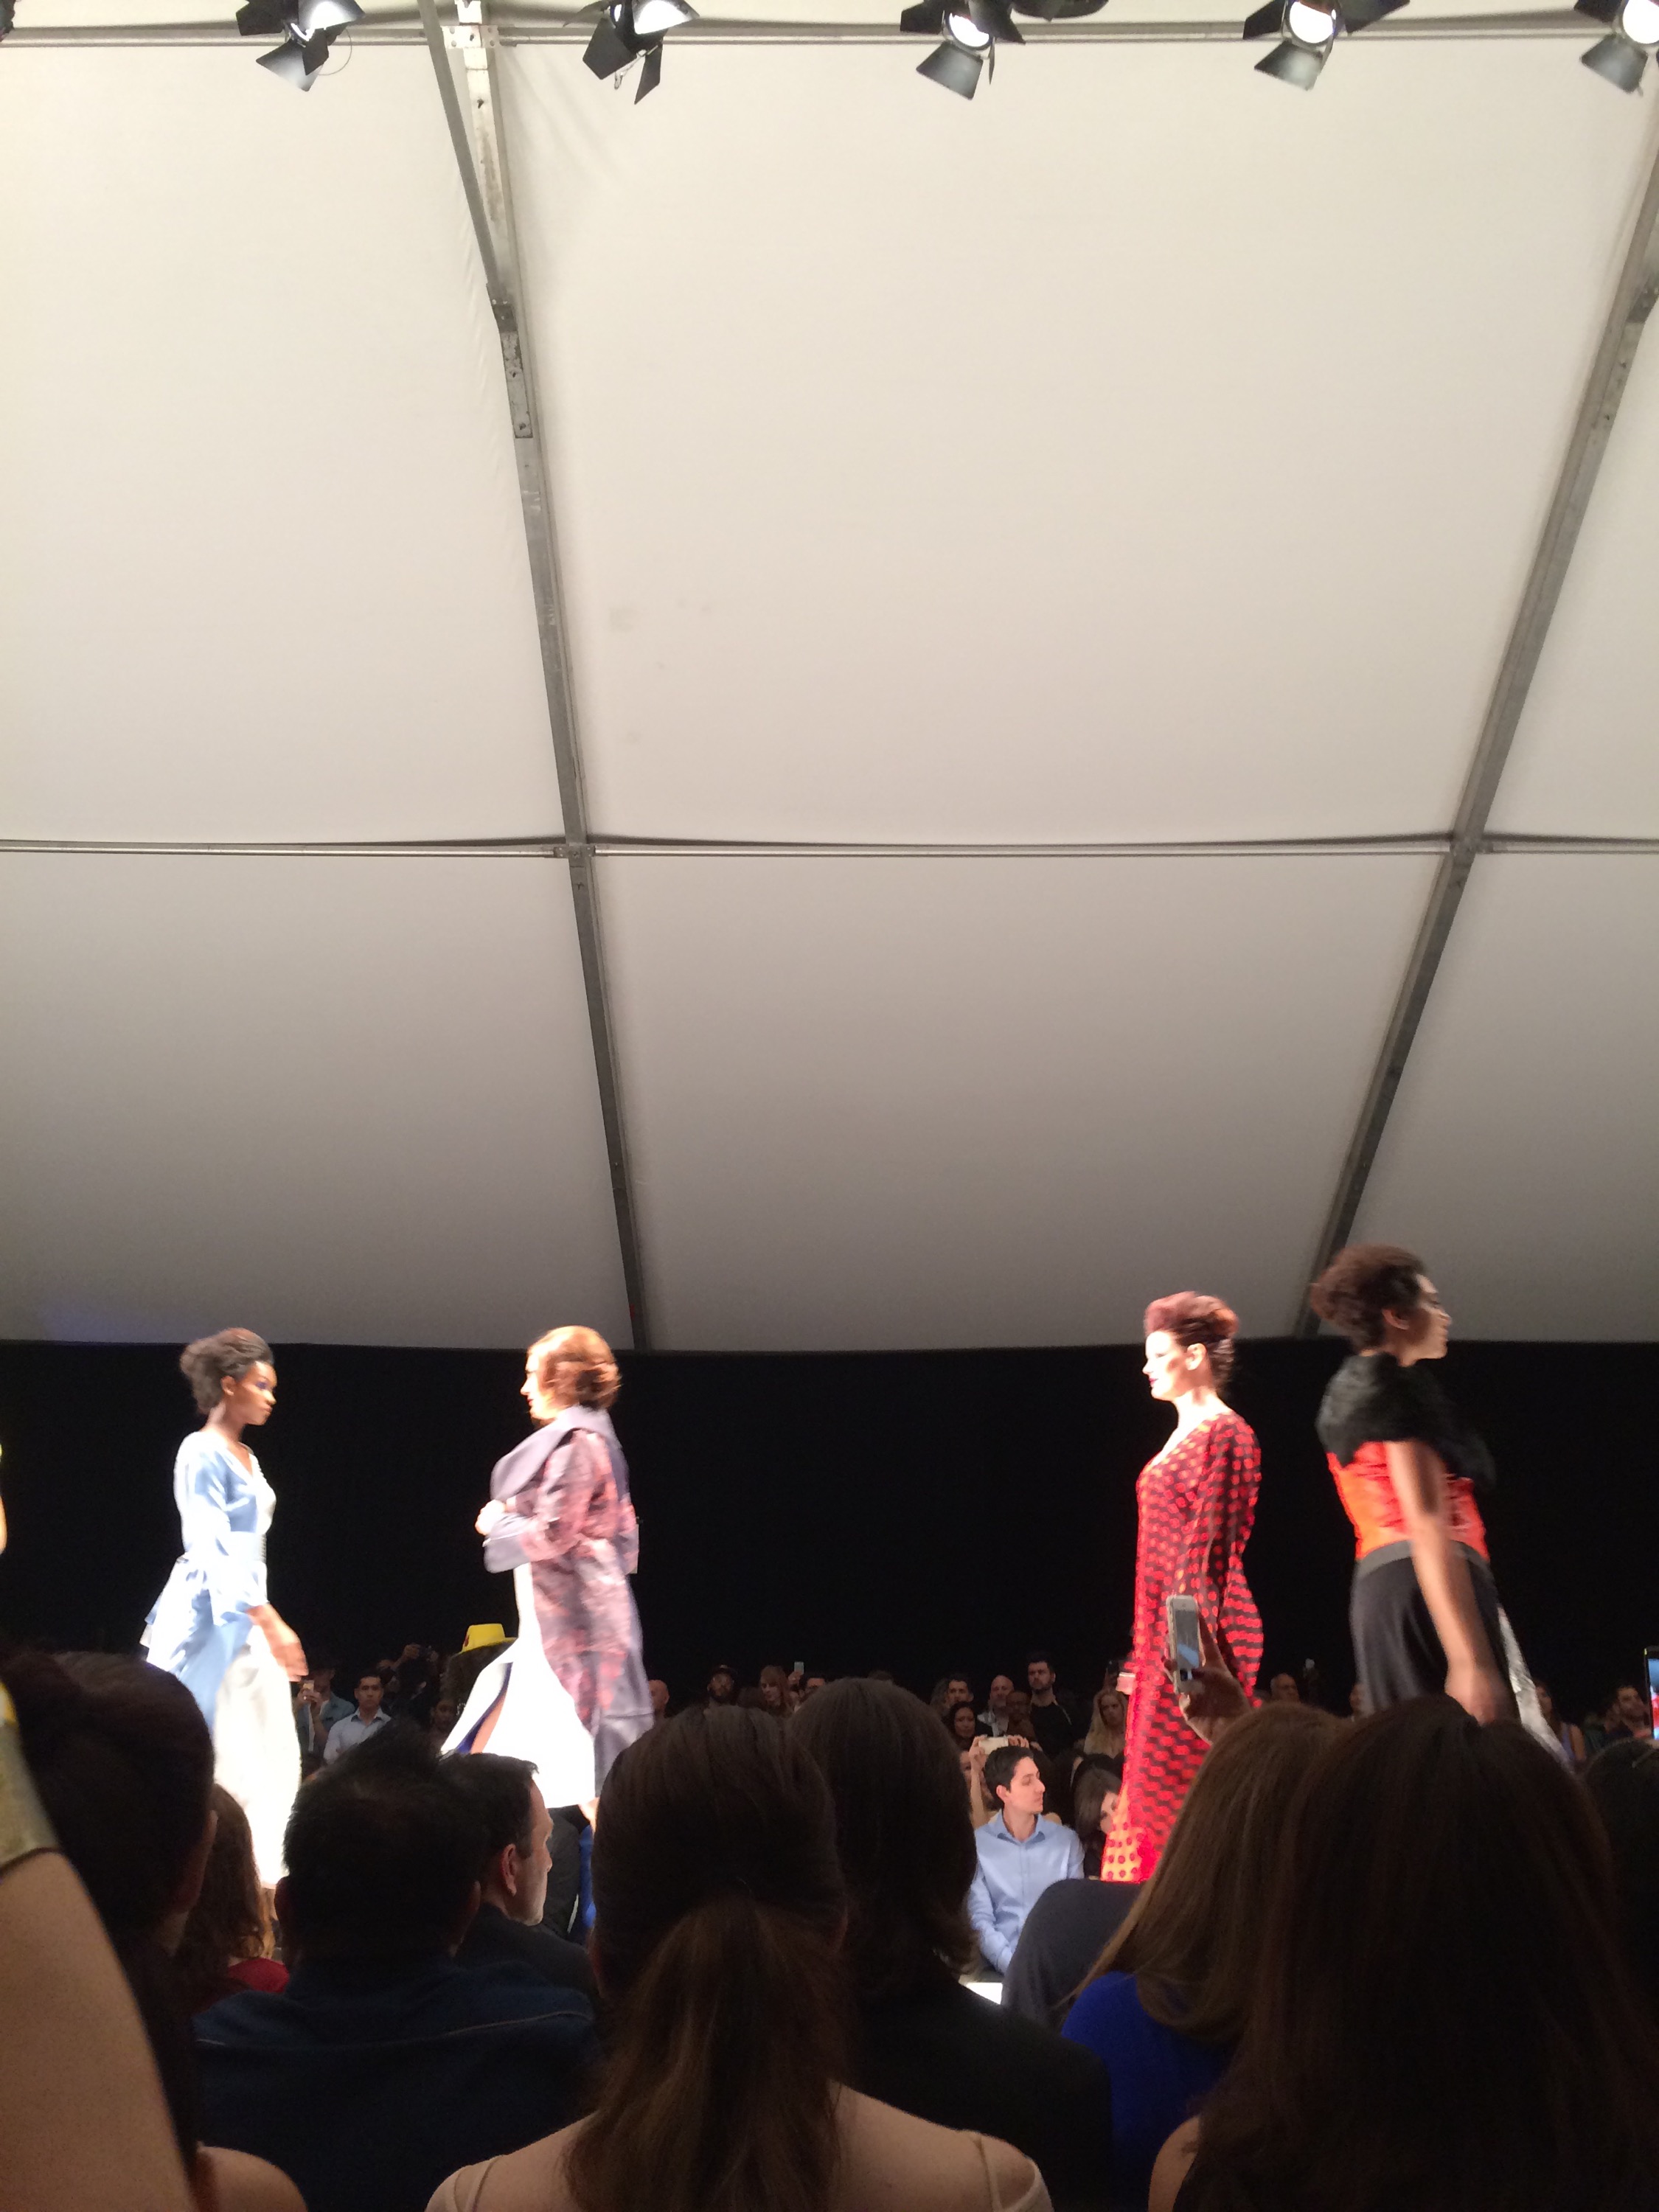
Coco Johnson
This show was very edgy and outgoing, The collection was bold and dark colors such as red and black were prominent throughout the show. I love the cuts and eccentric styles of the jumpsuits and dresses that were a part of this collection.


<a
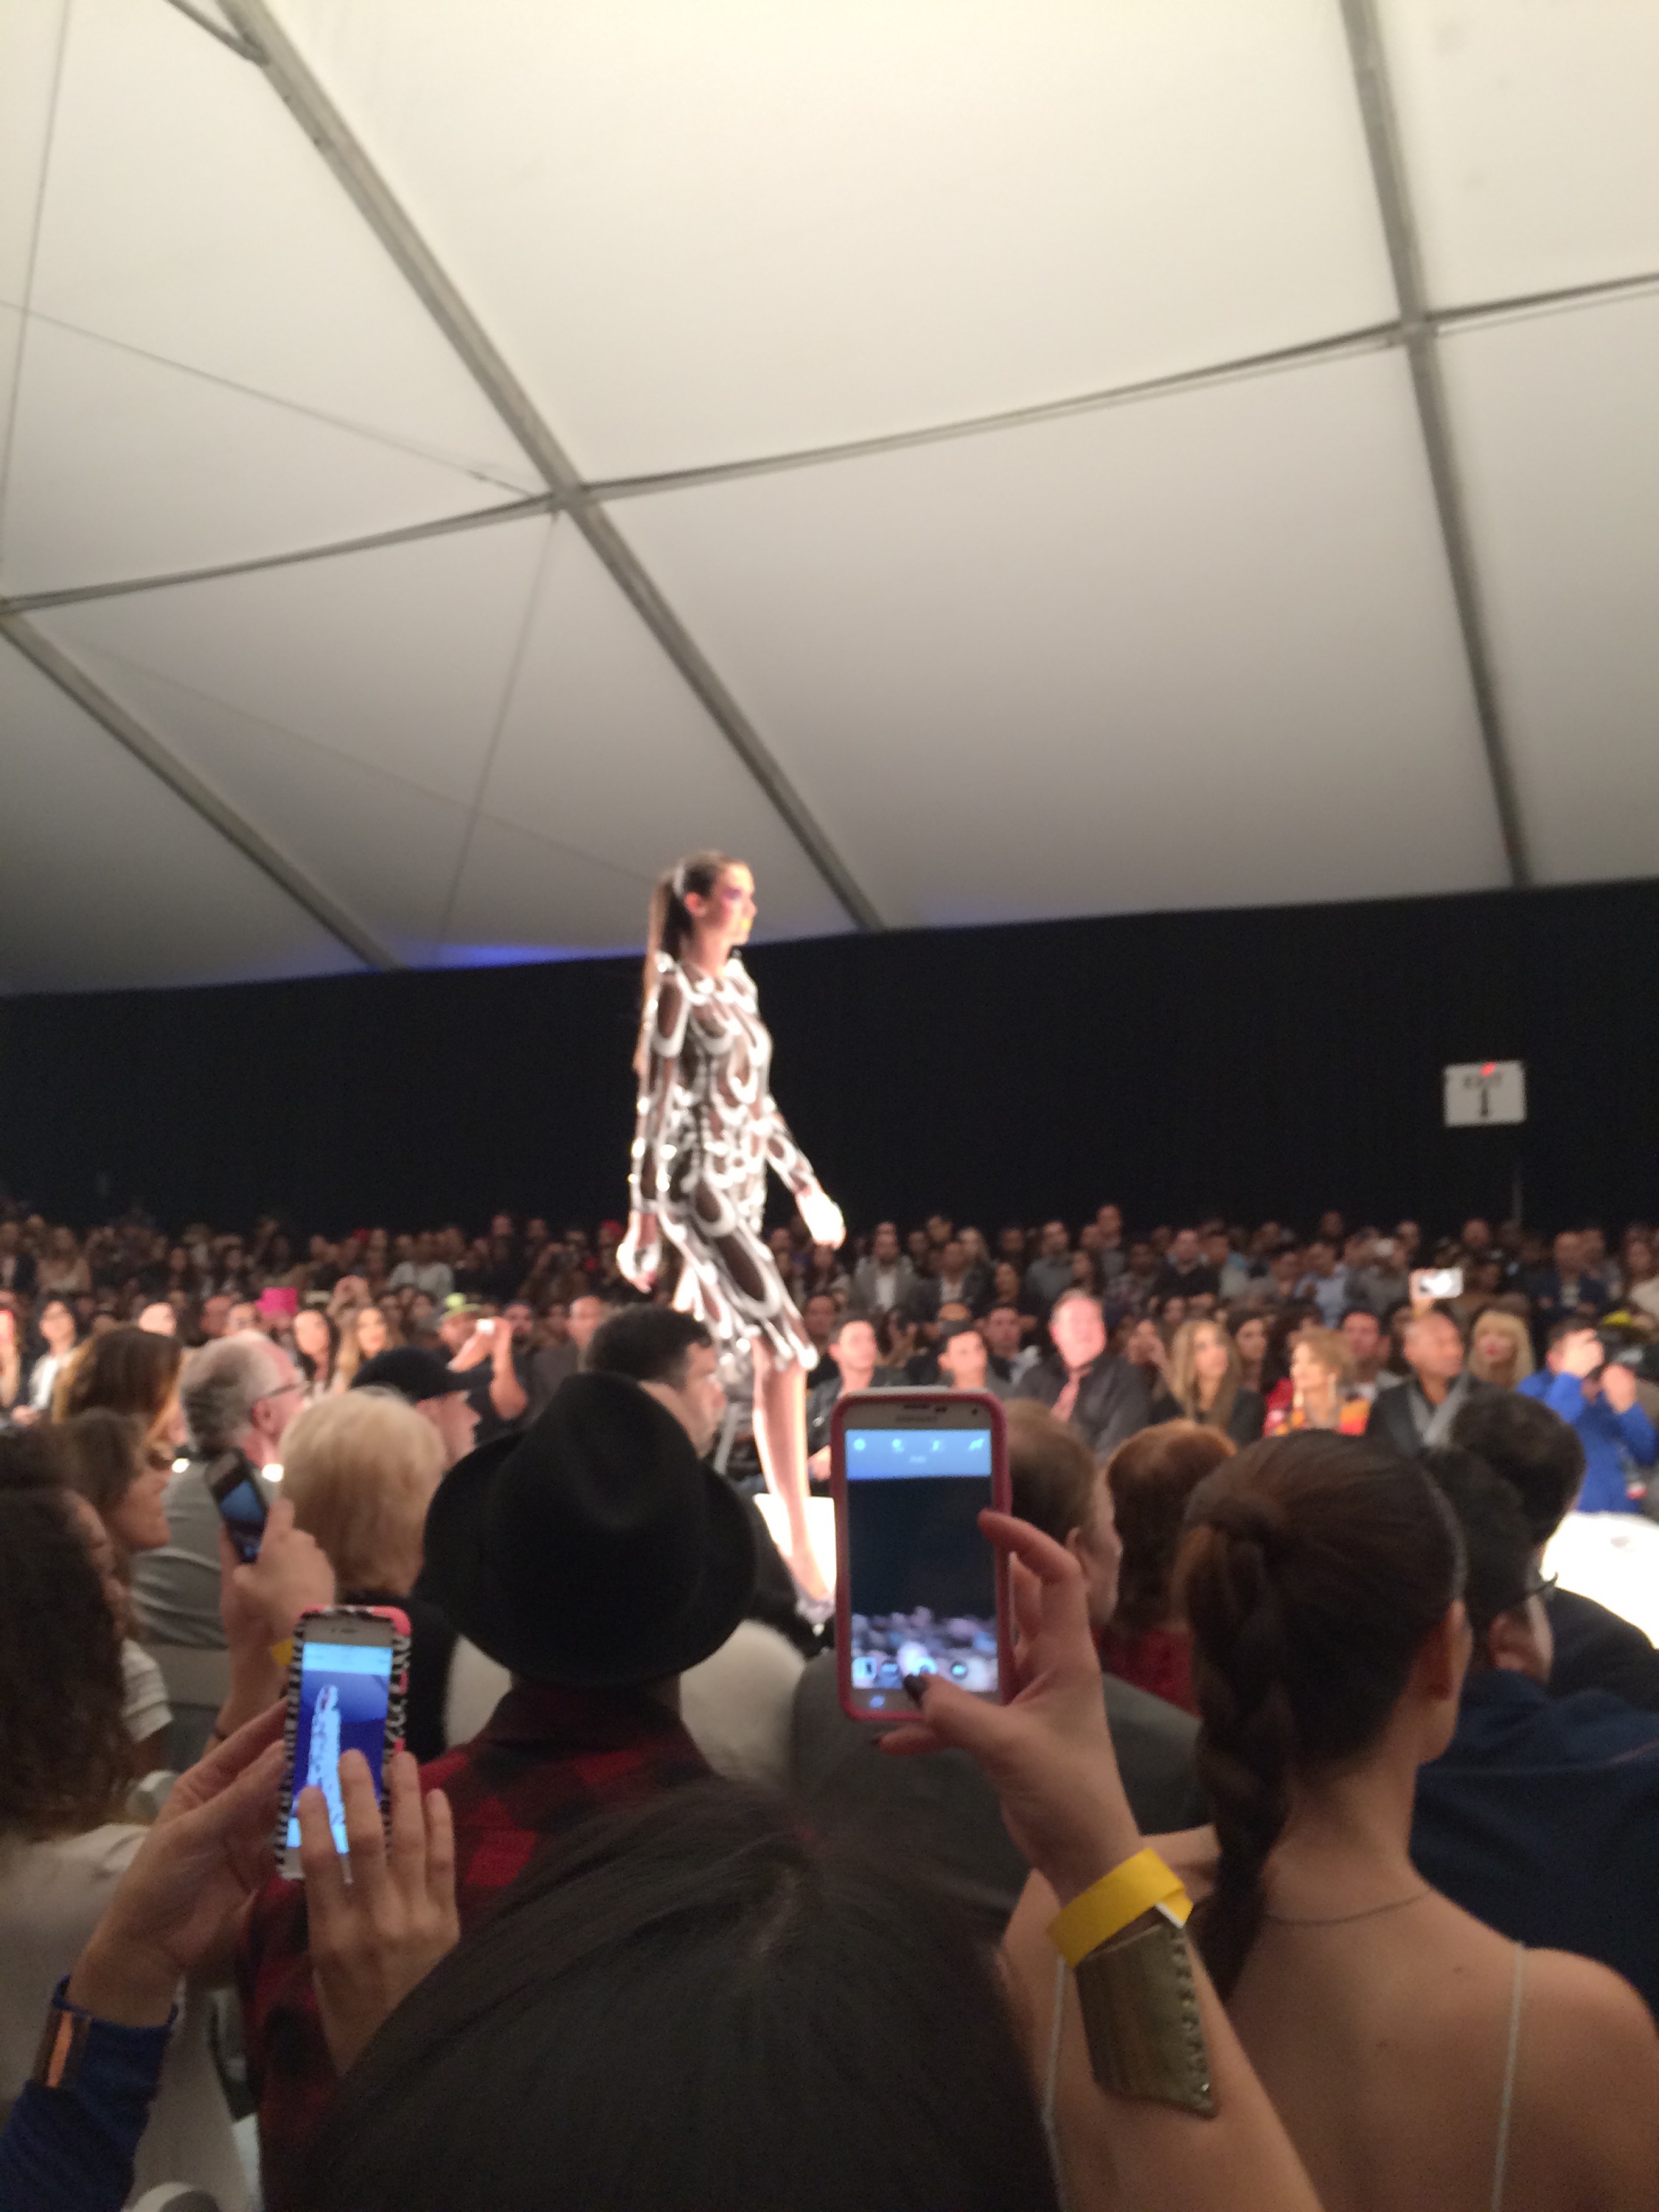
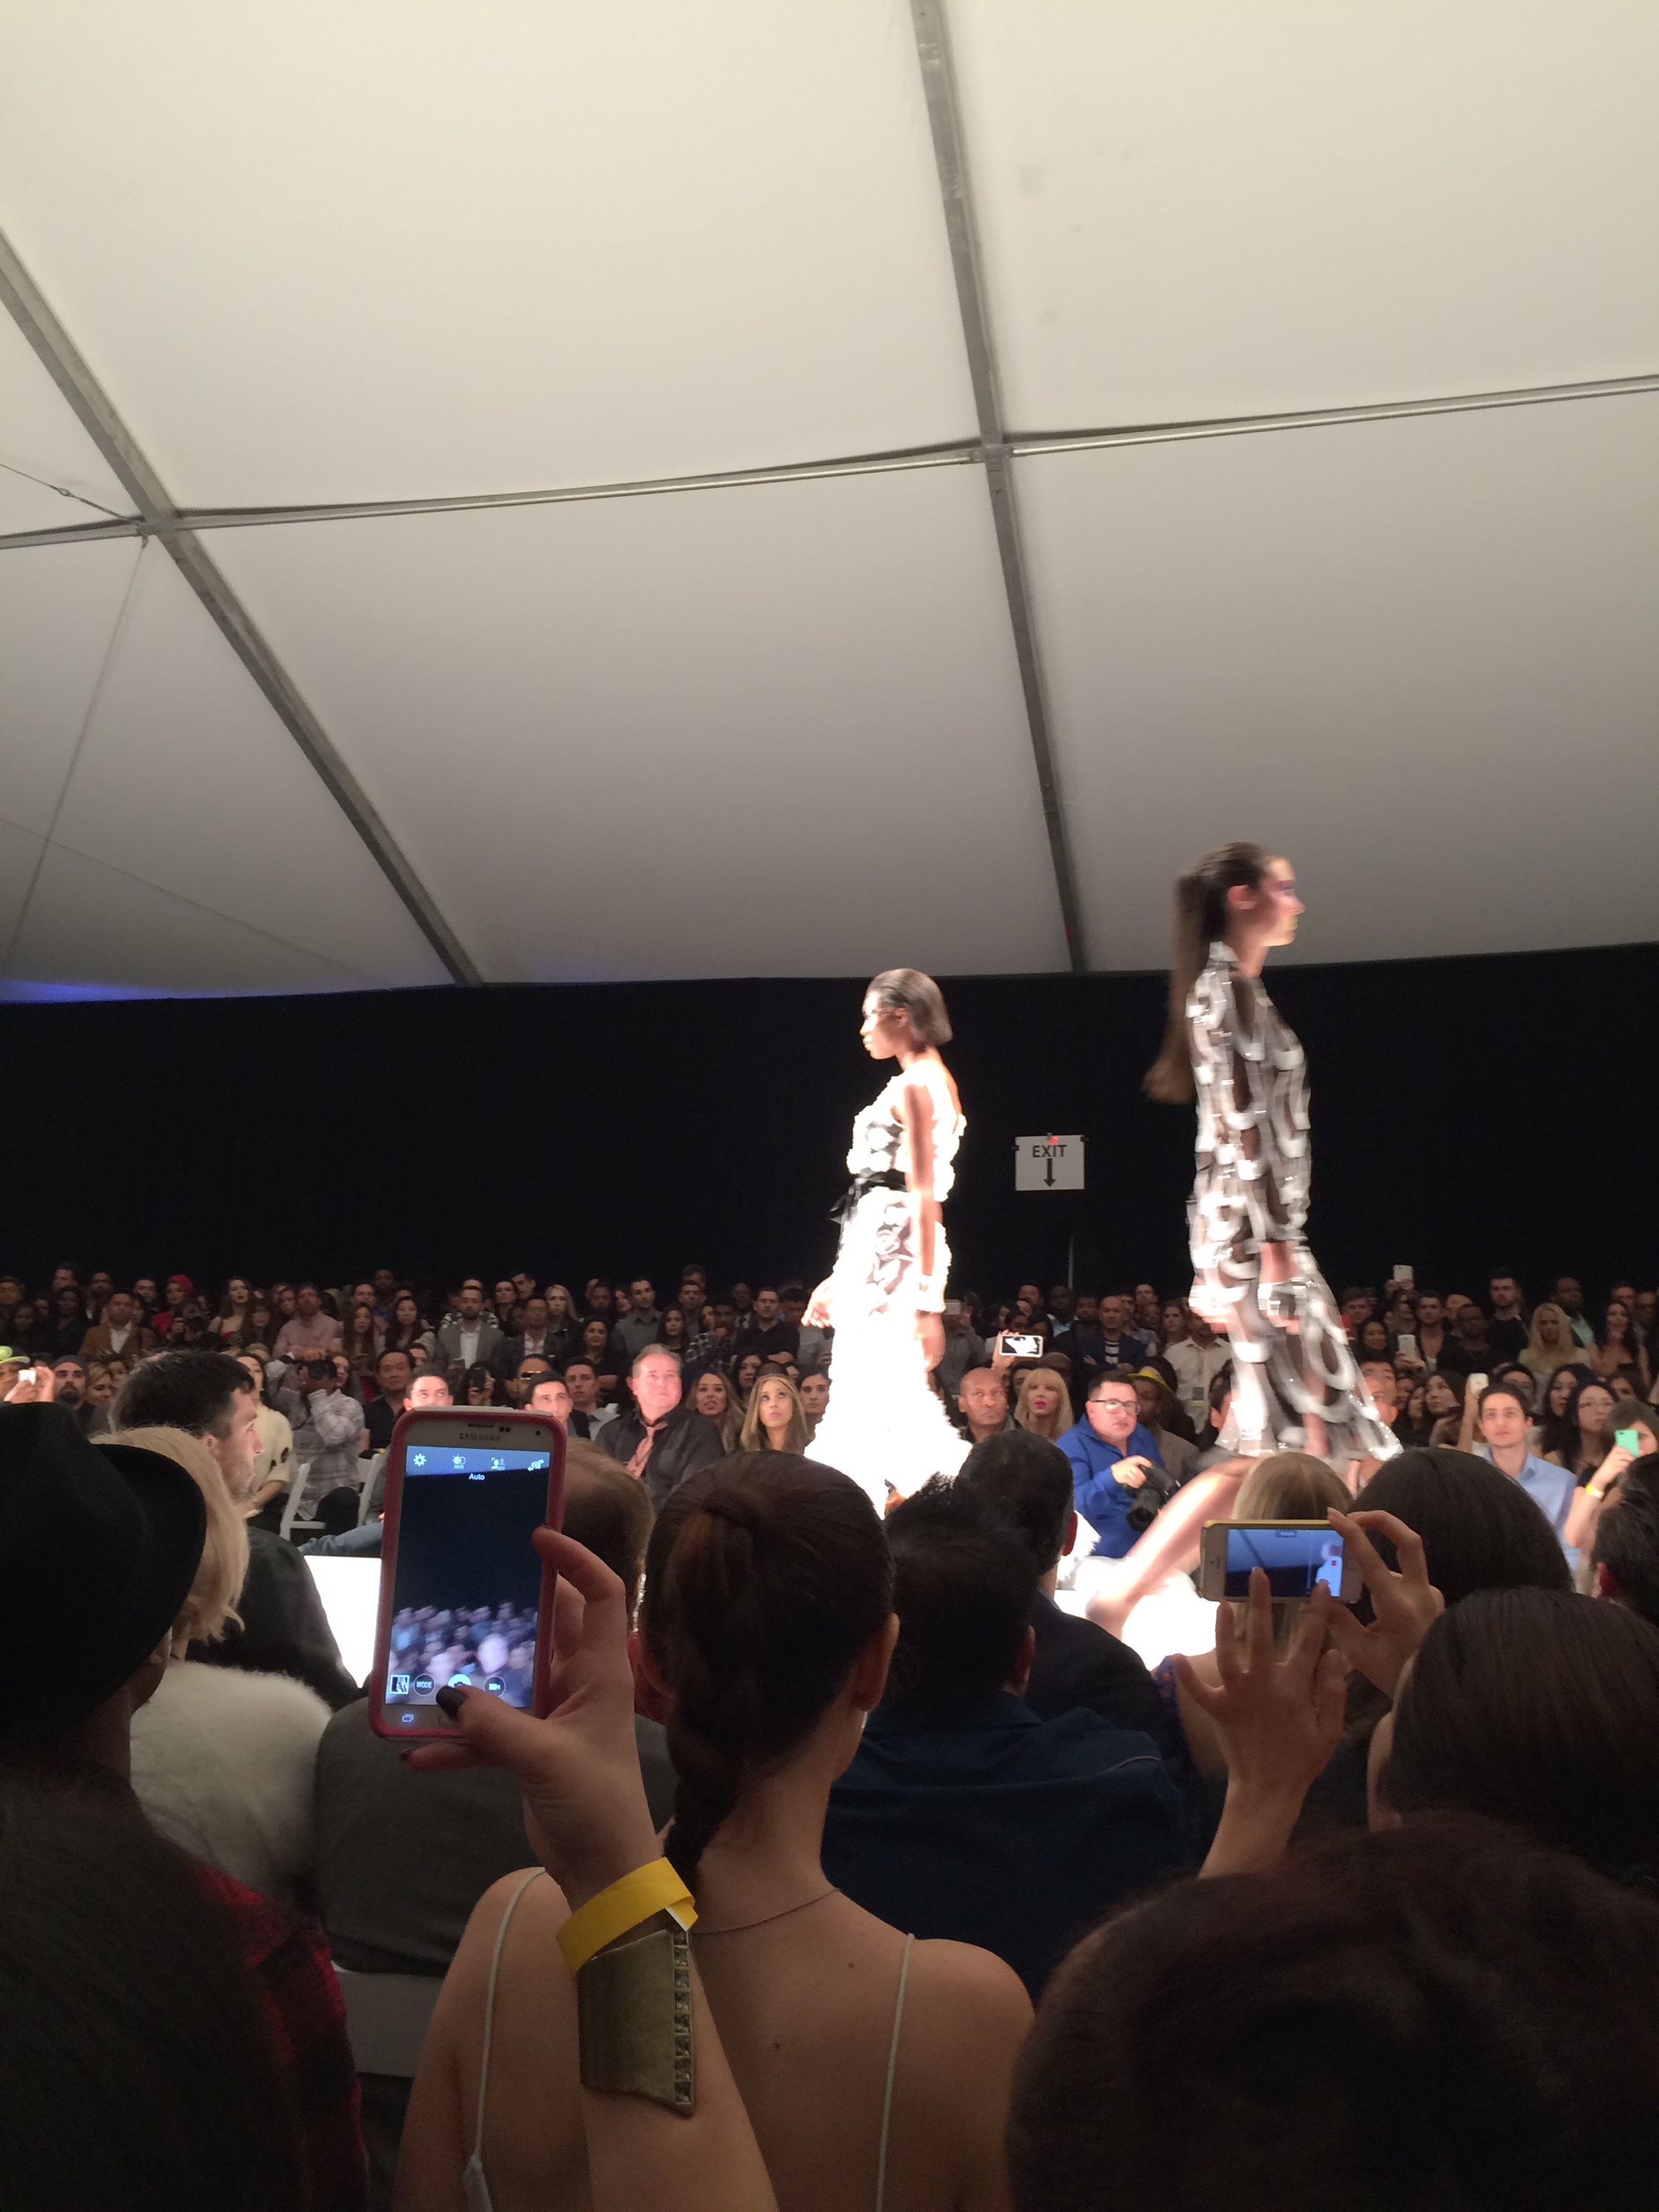
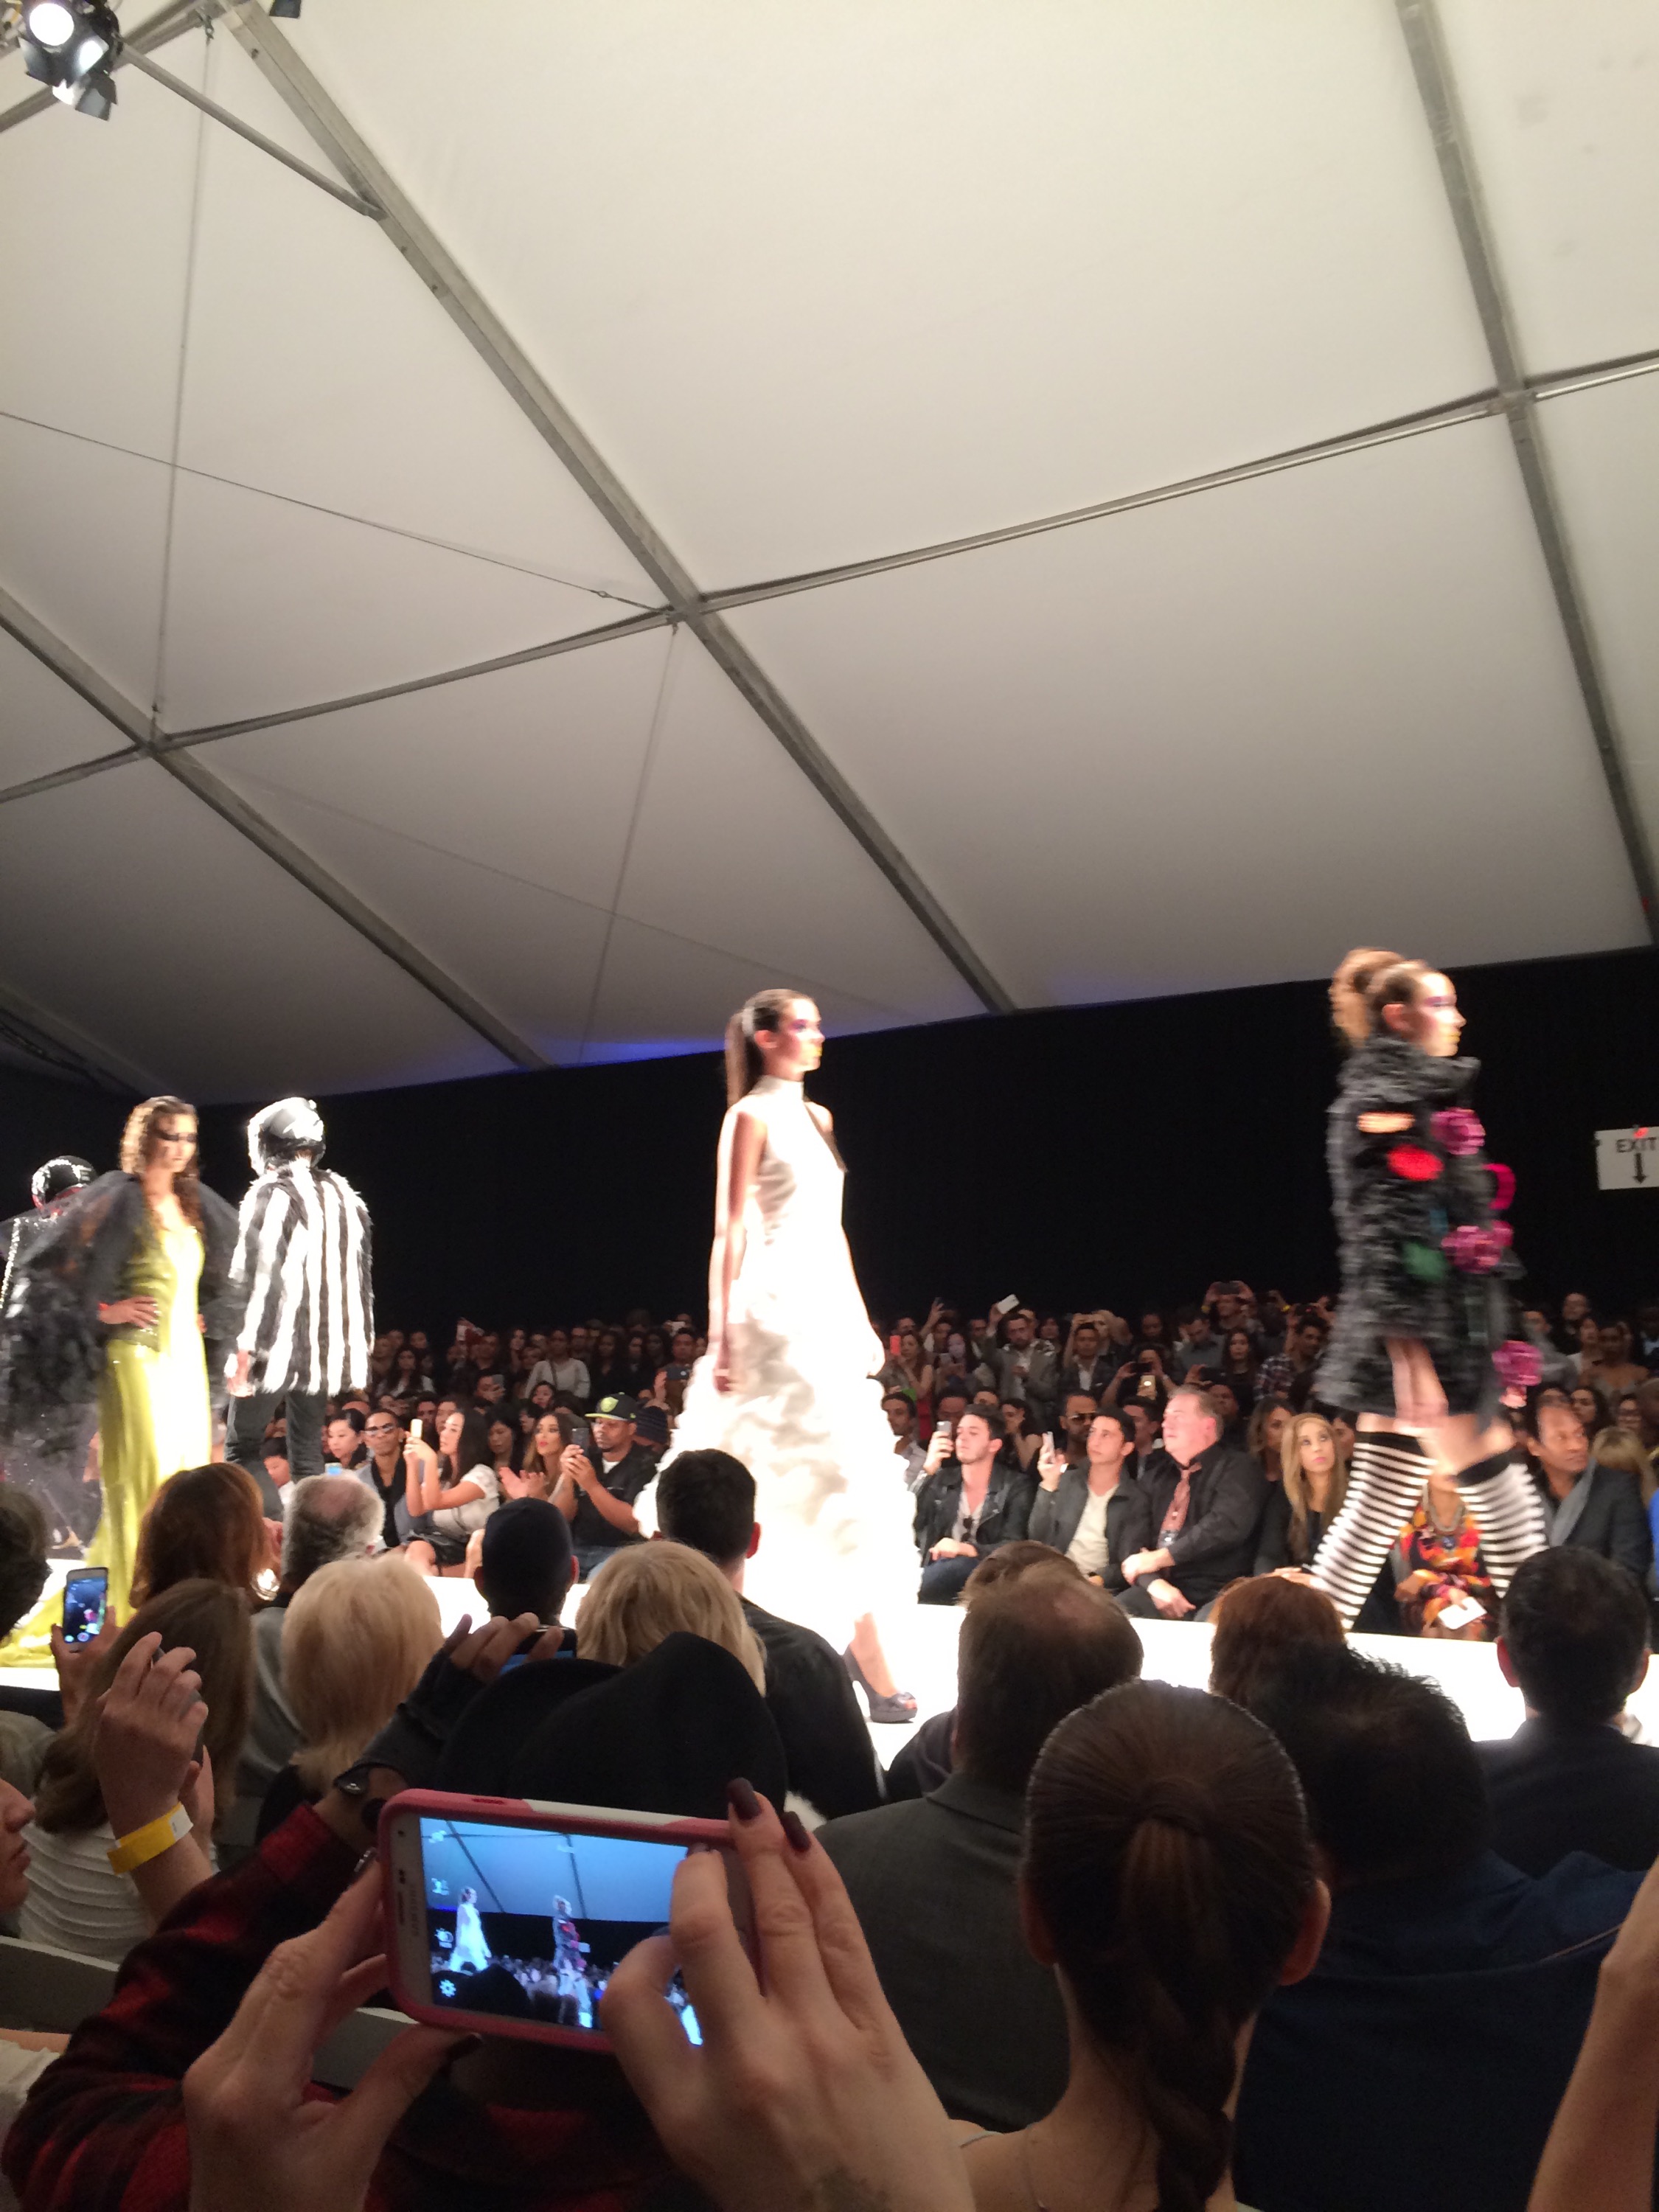
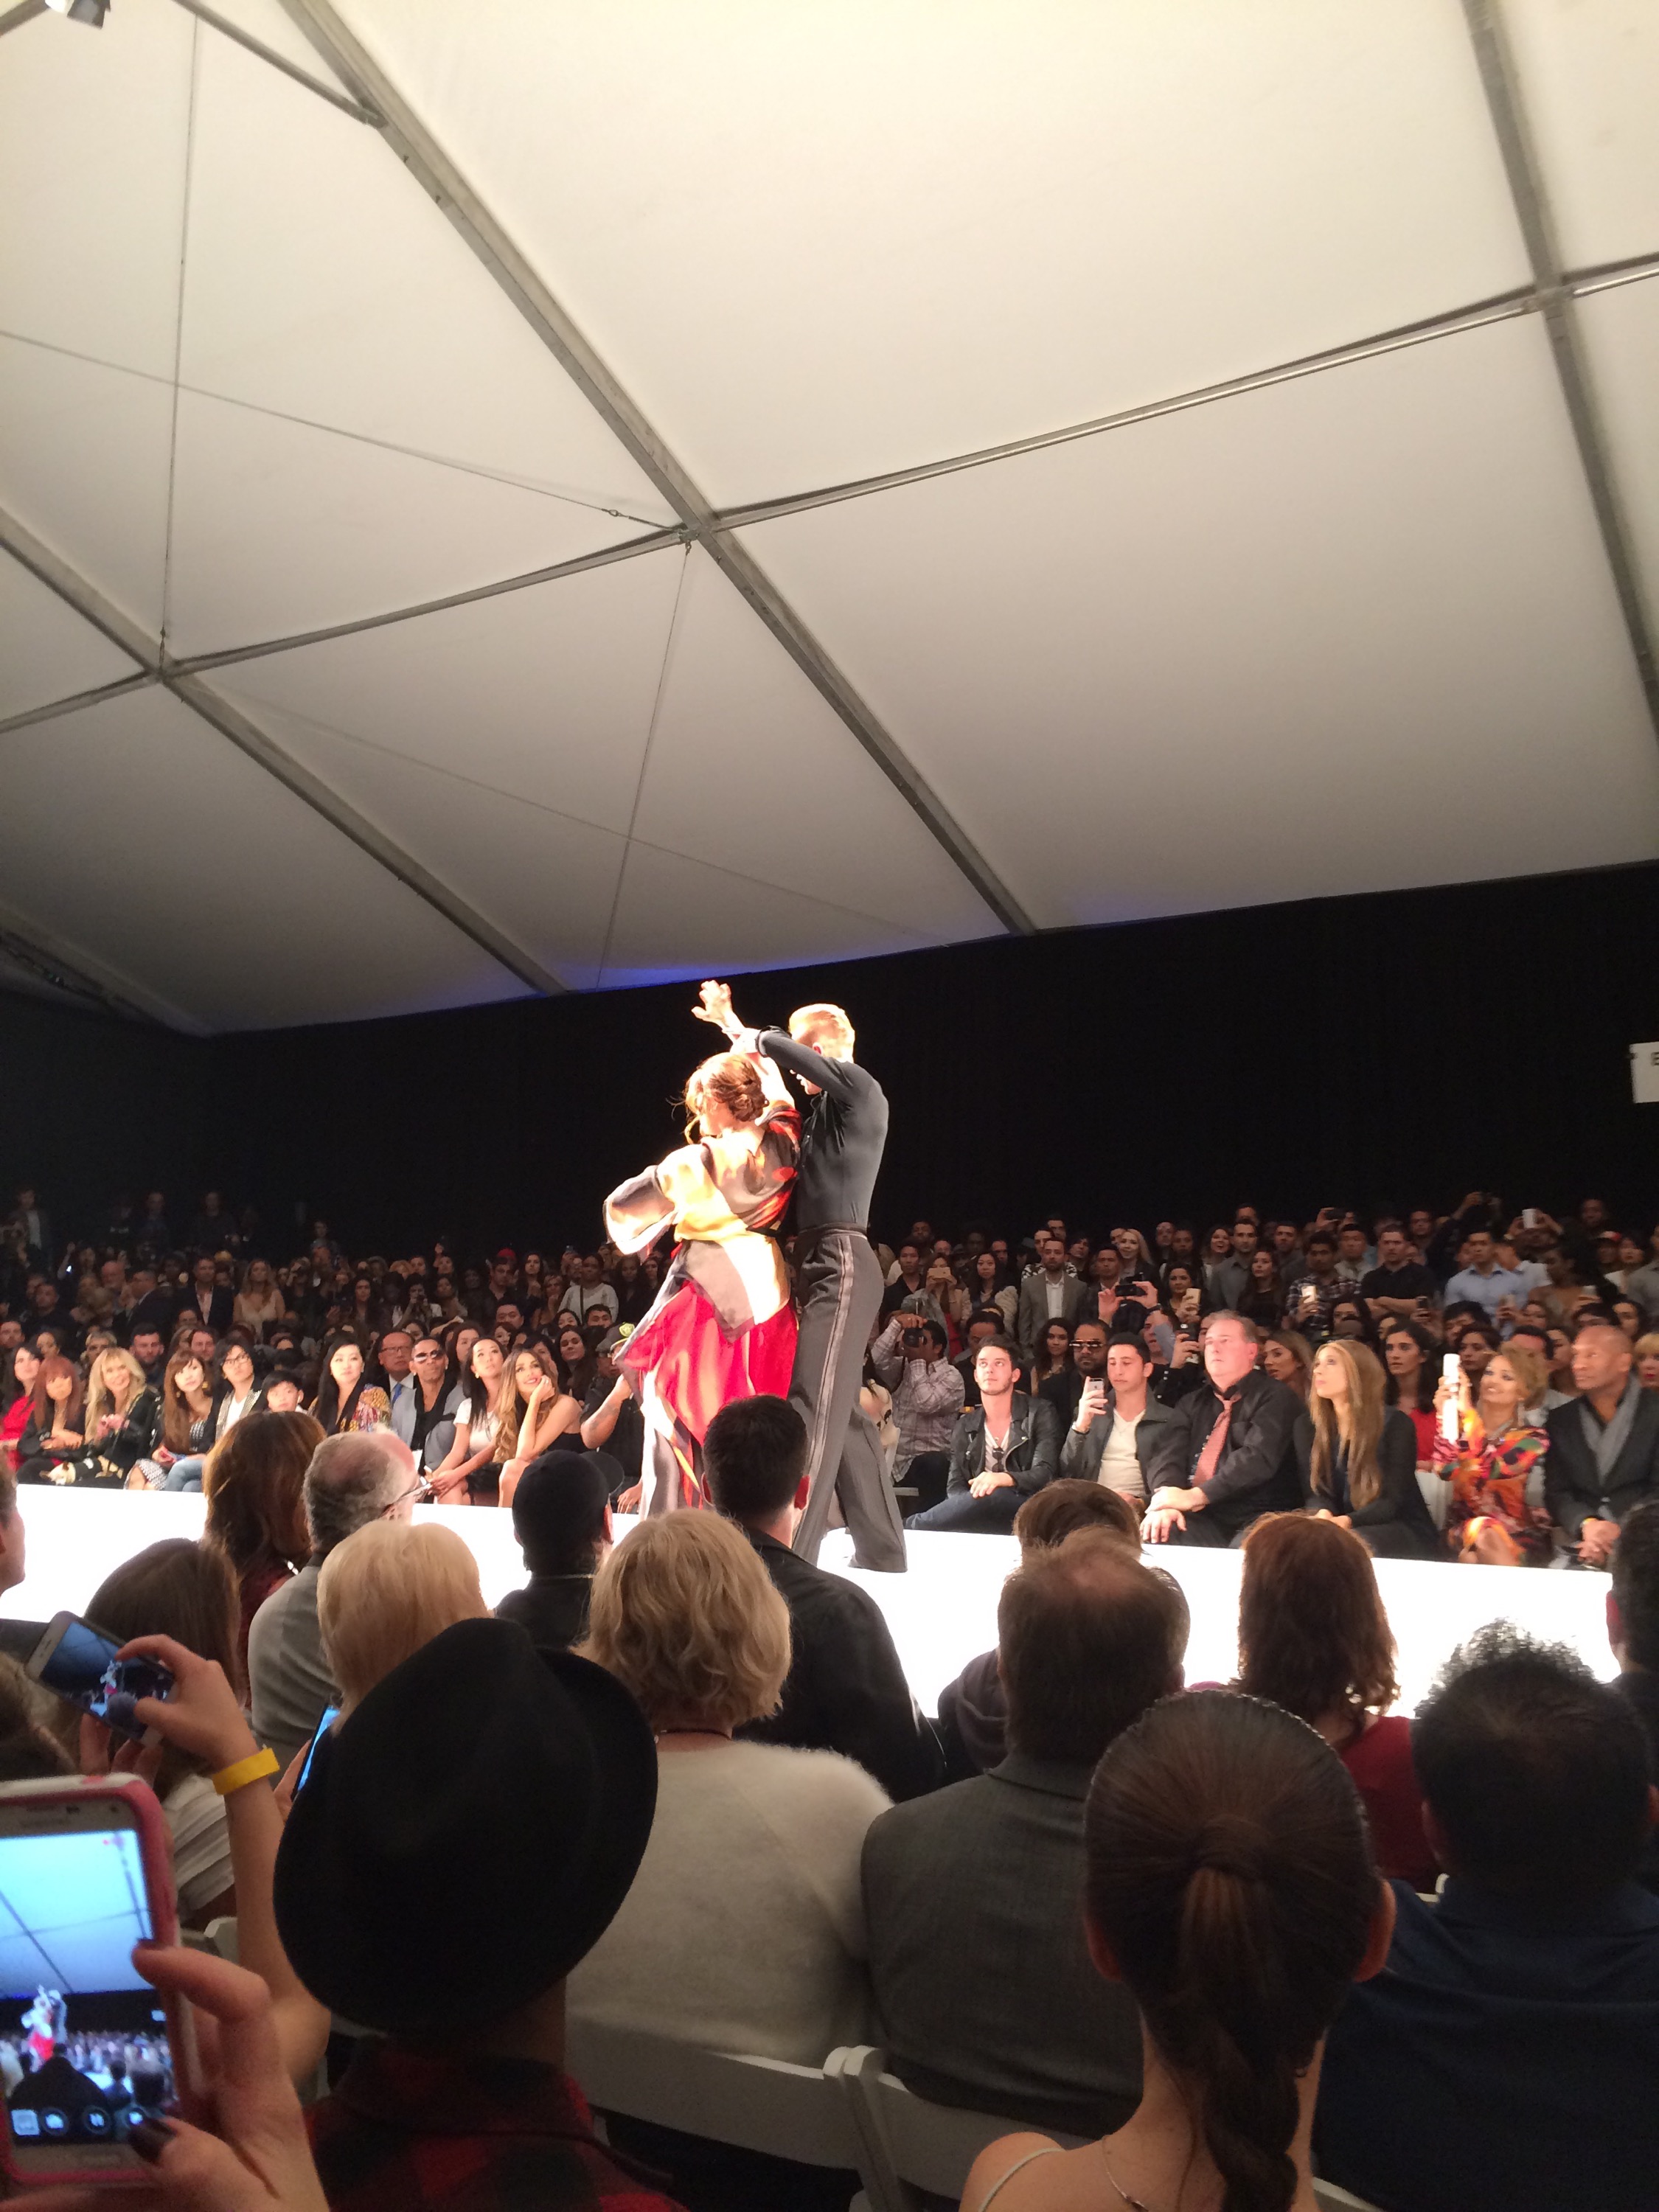
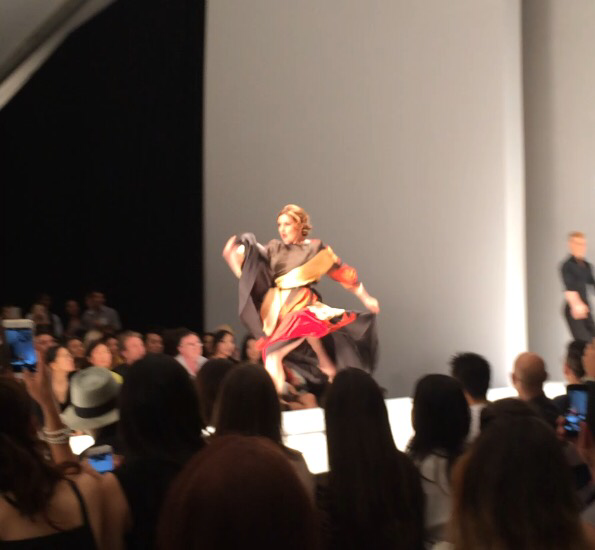
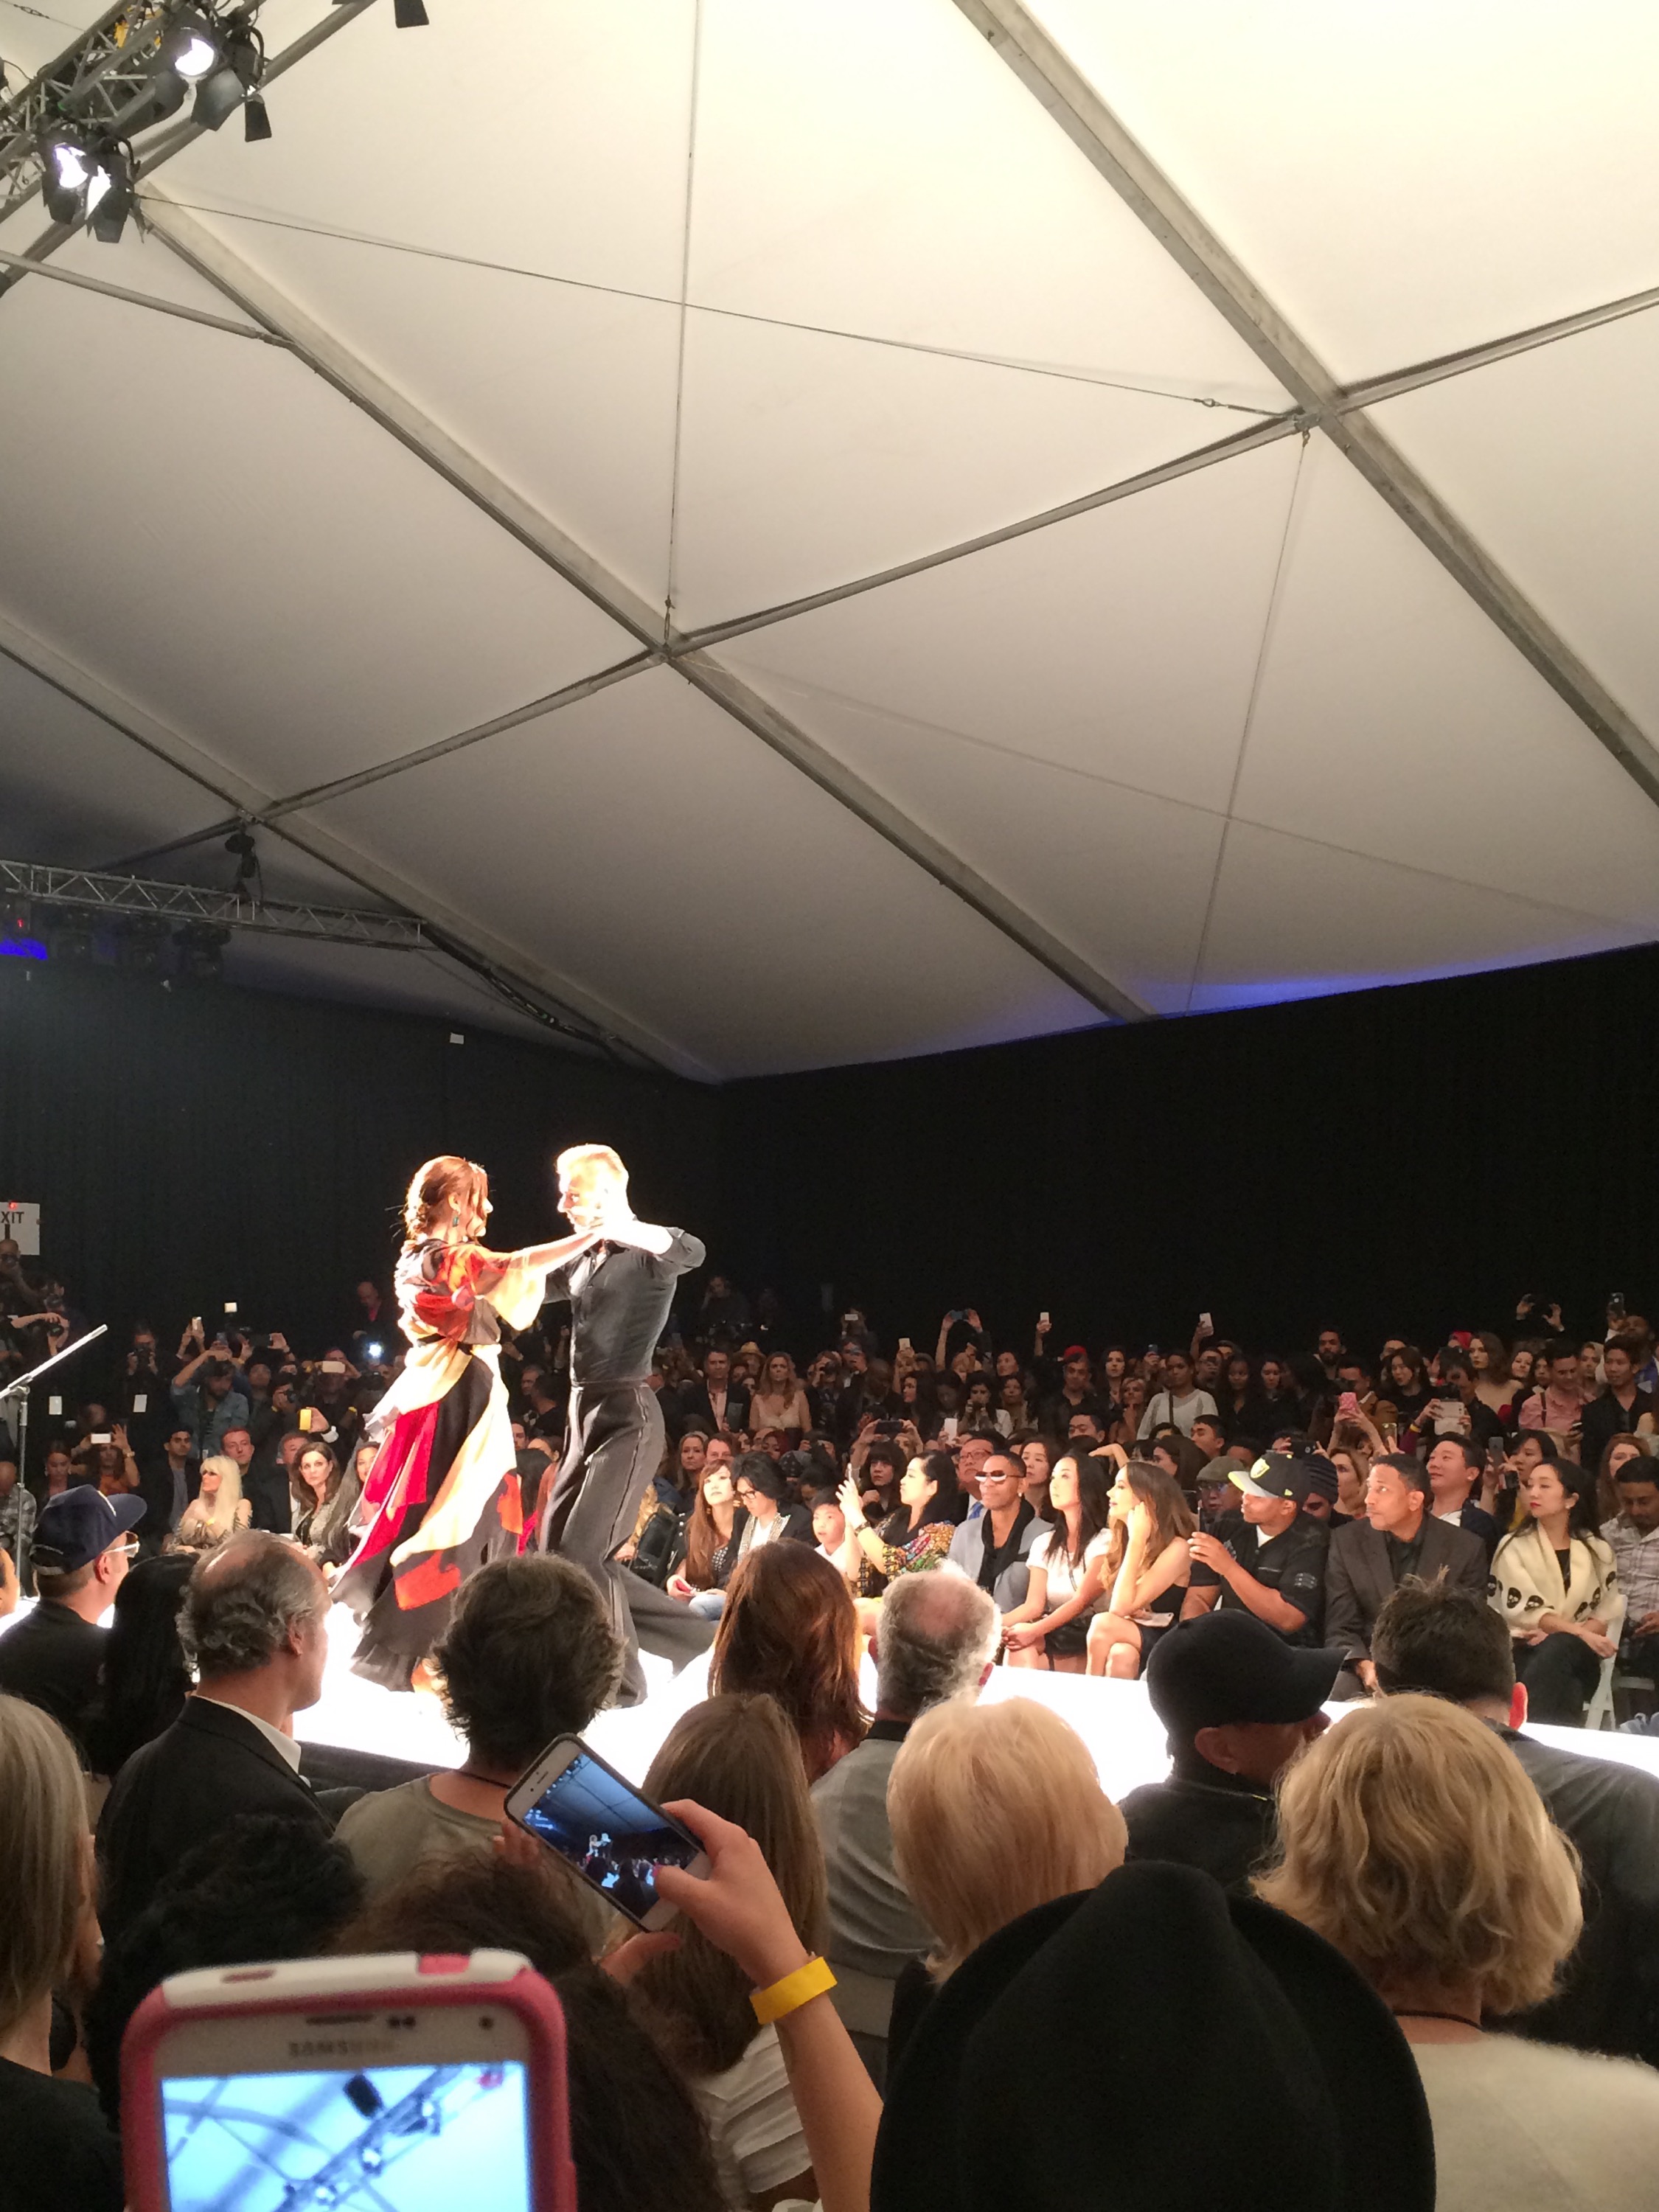
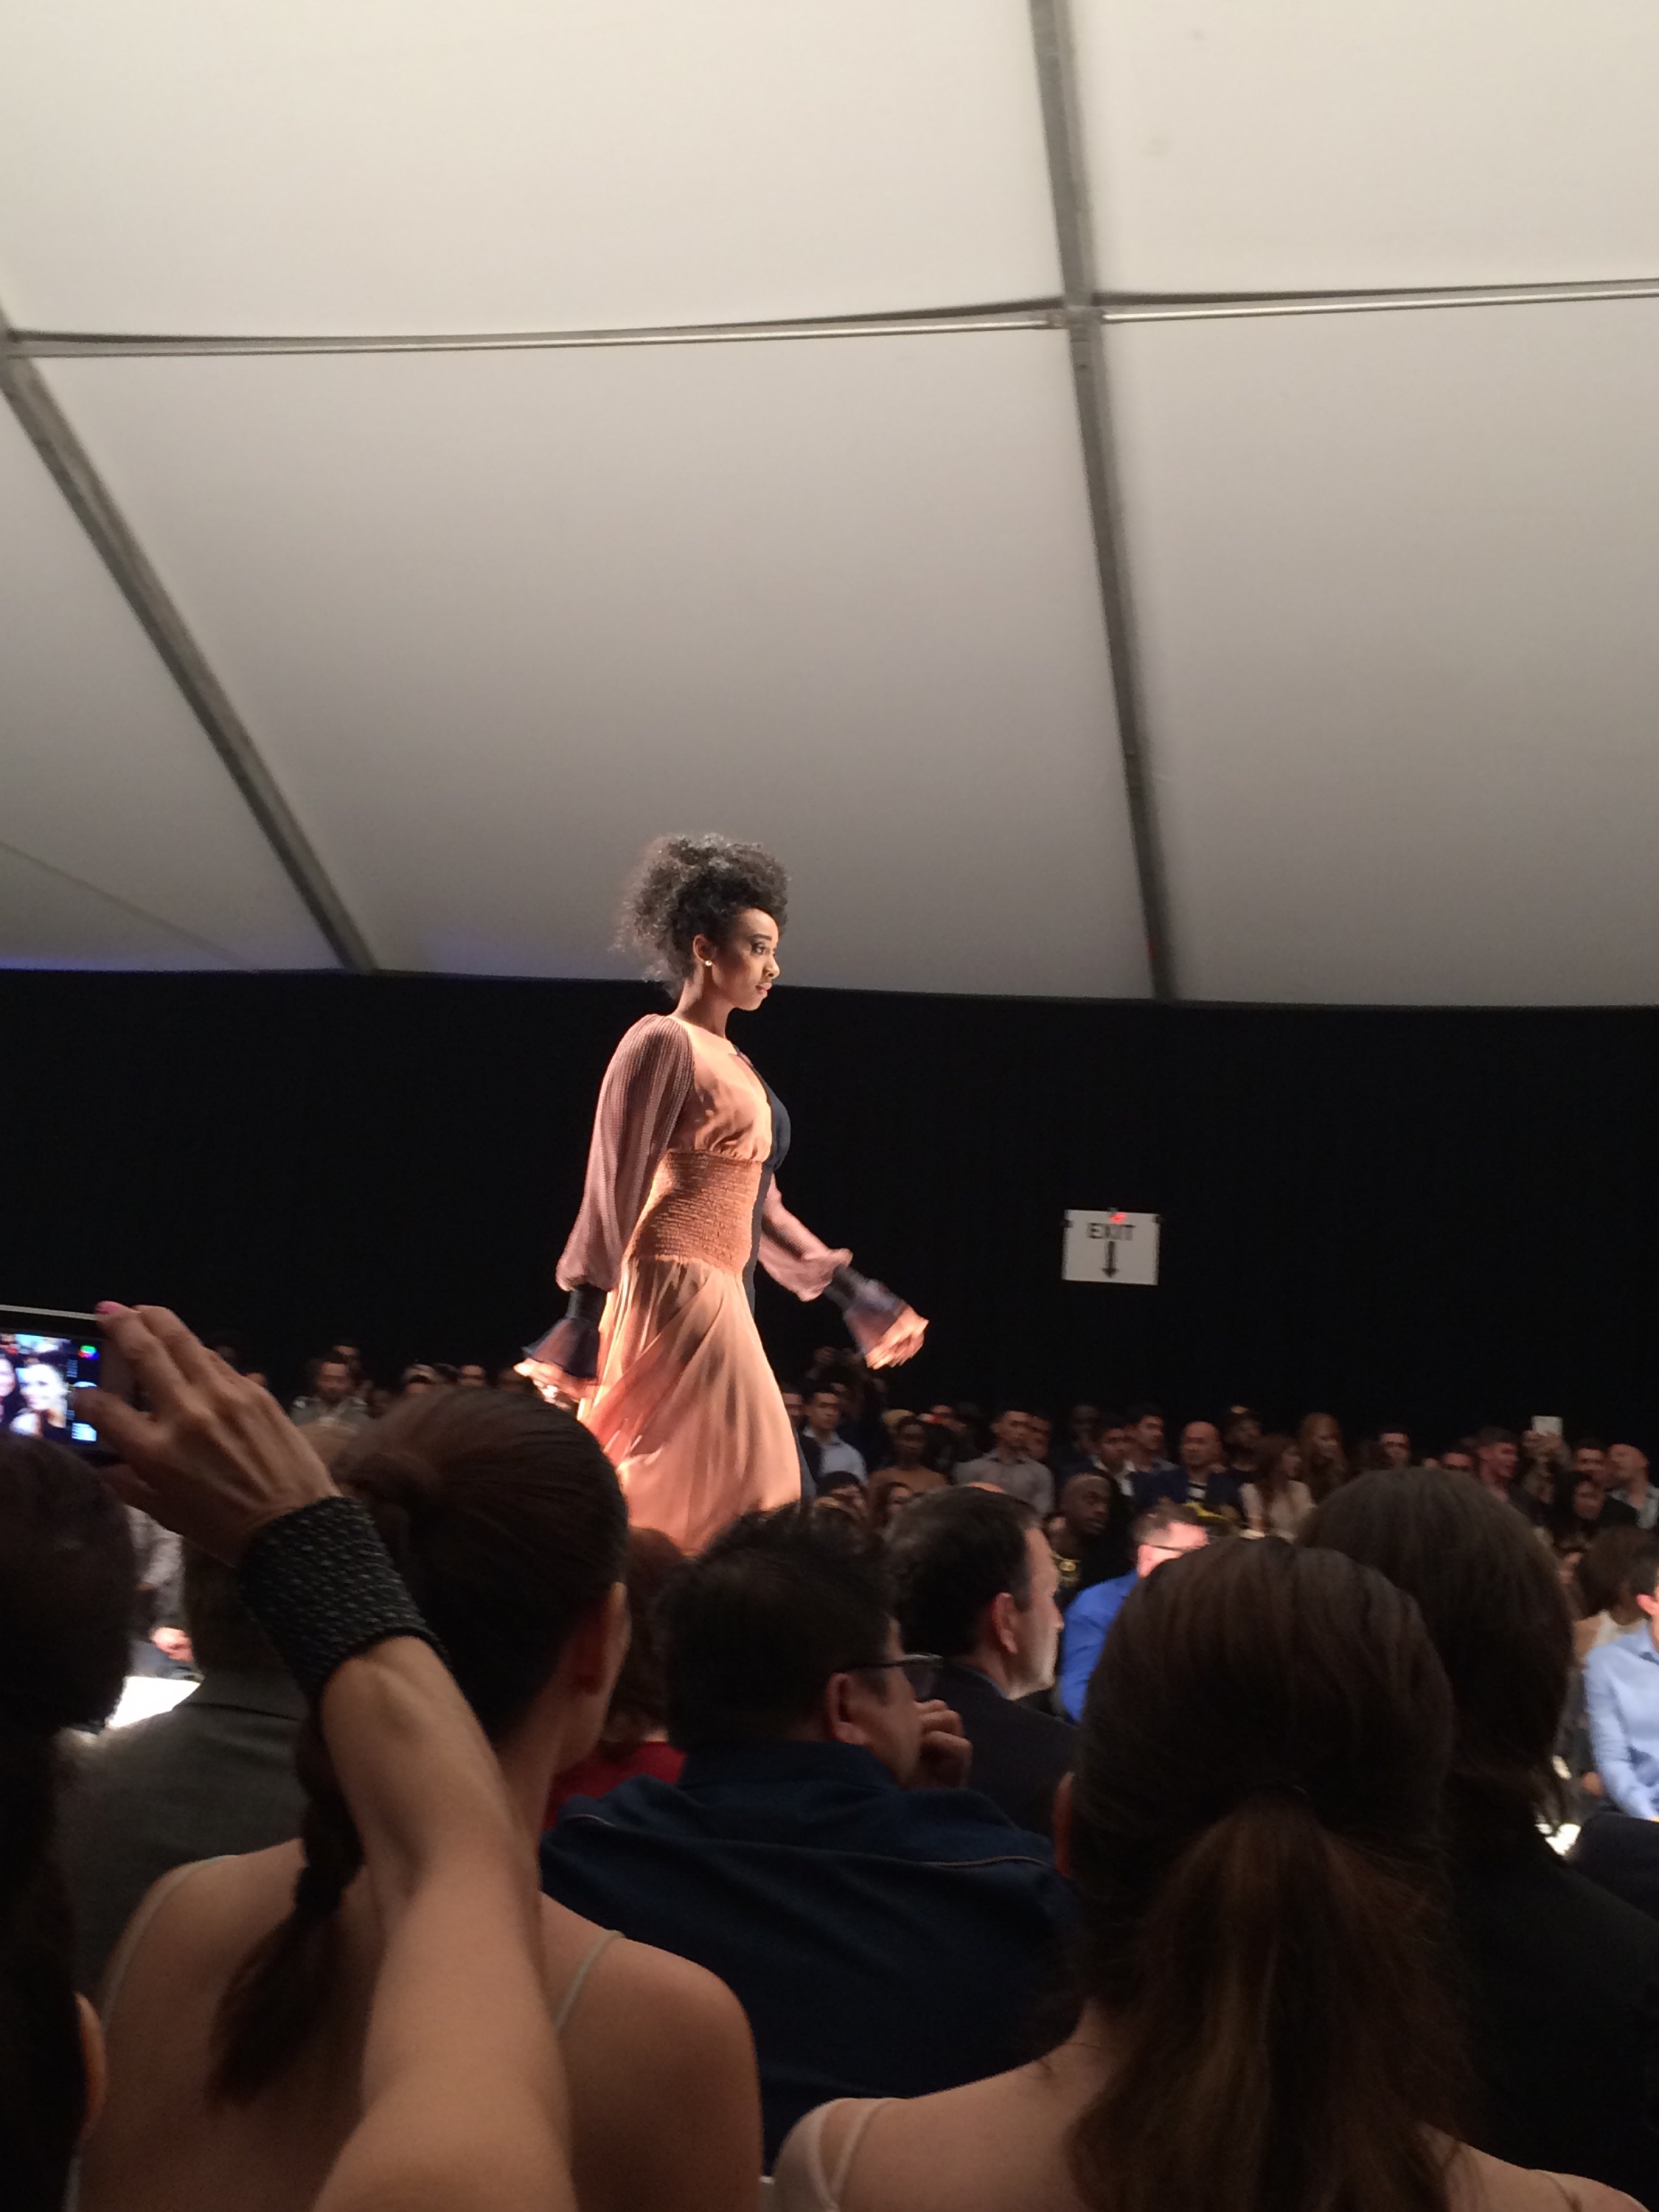
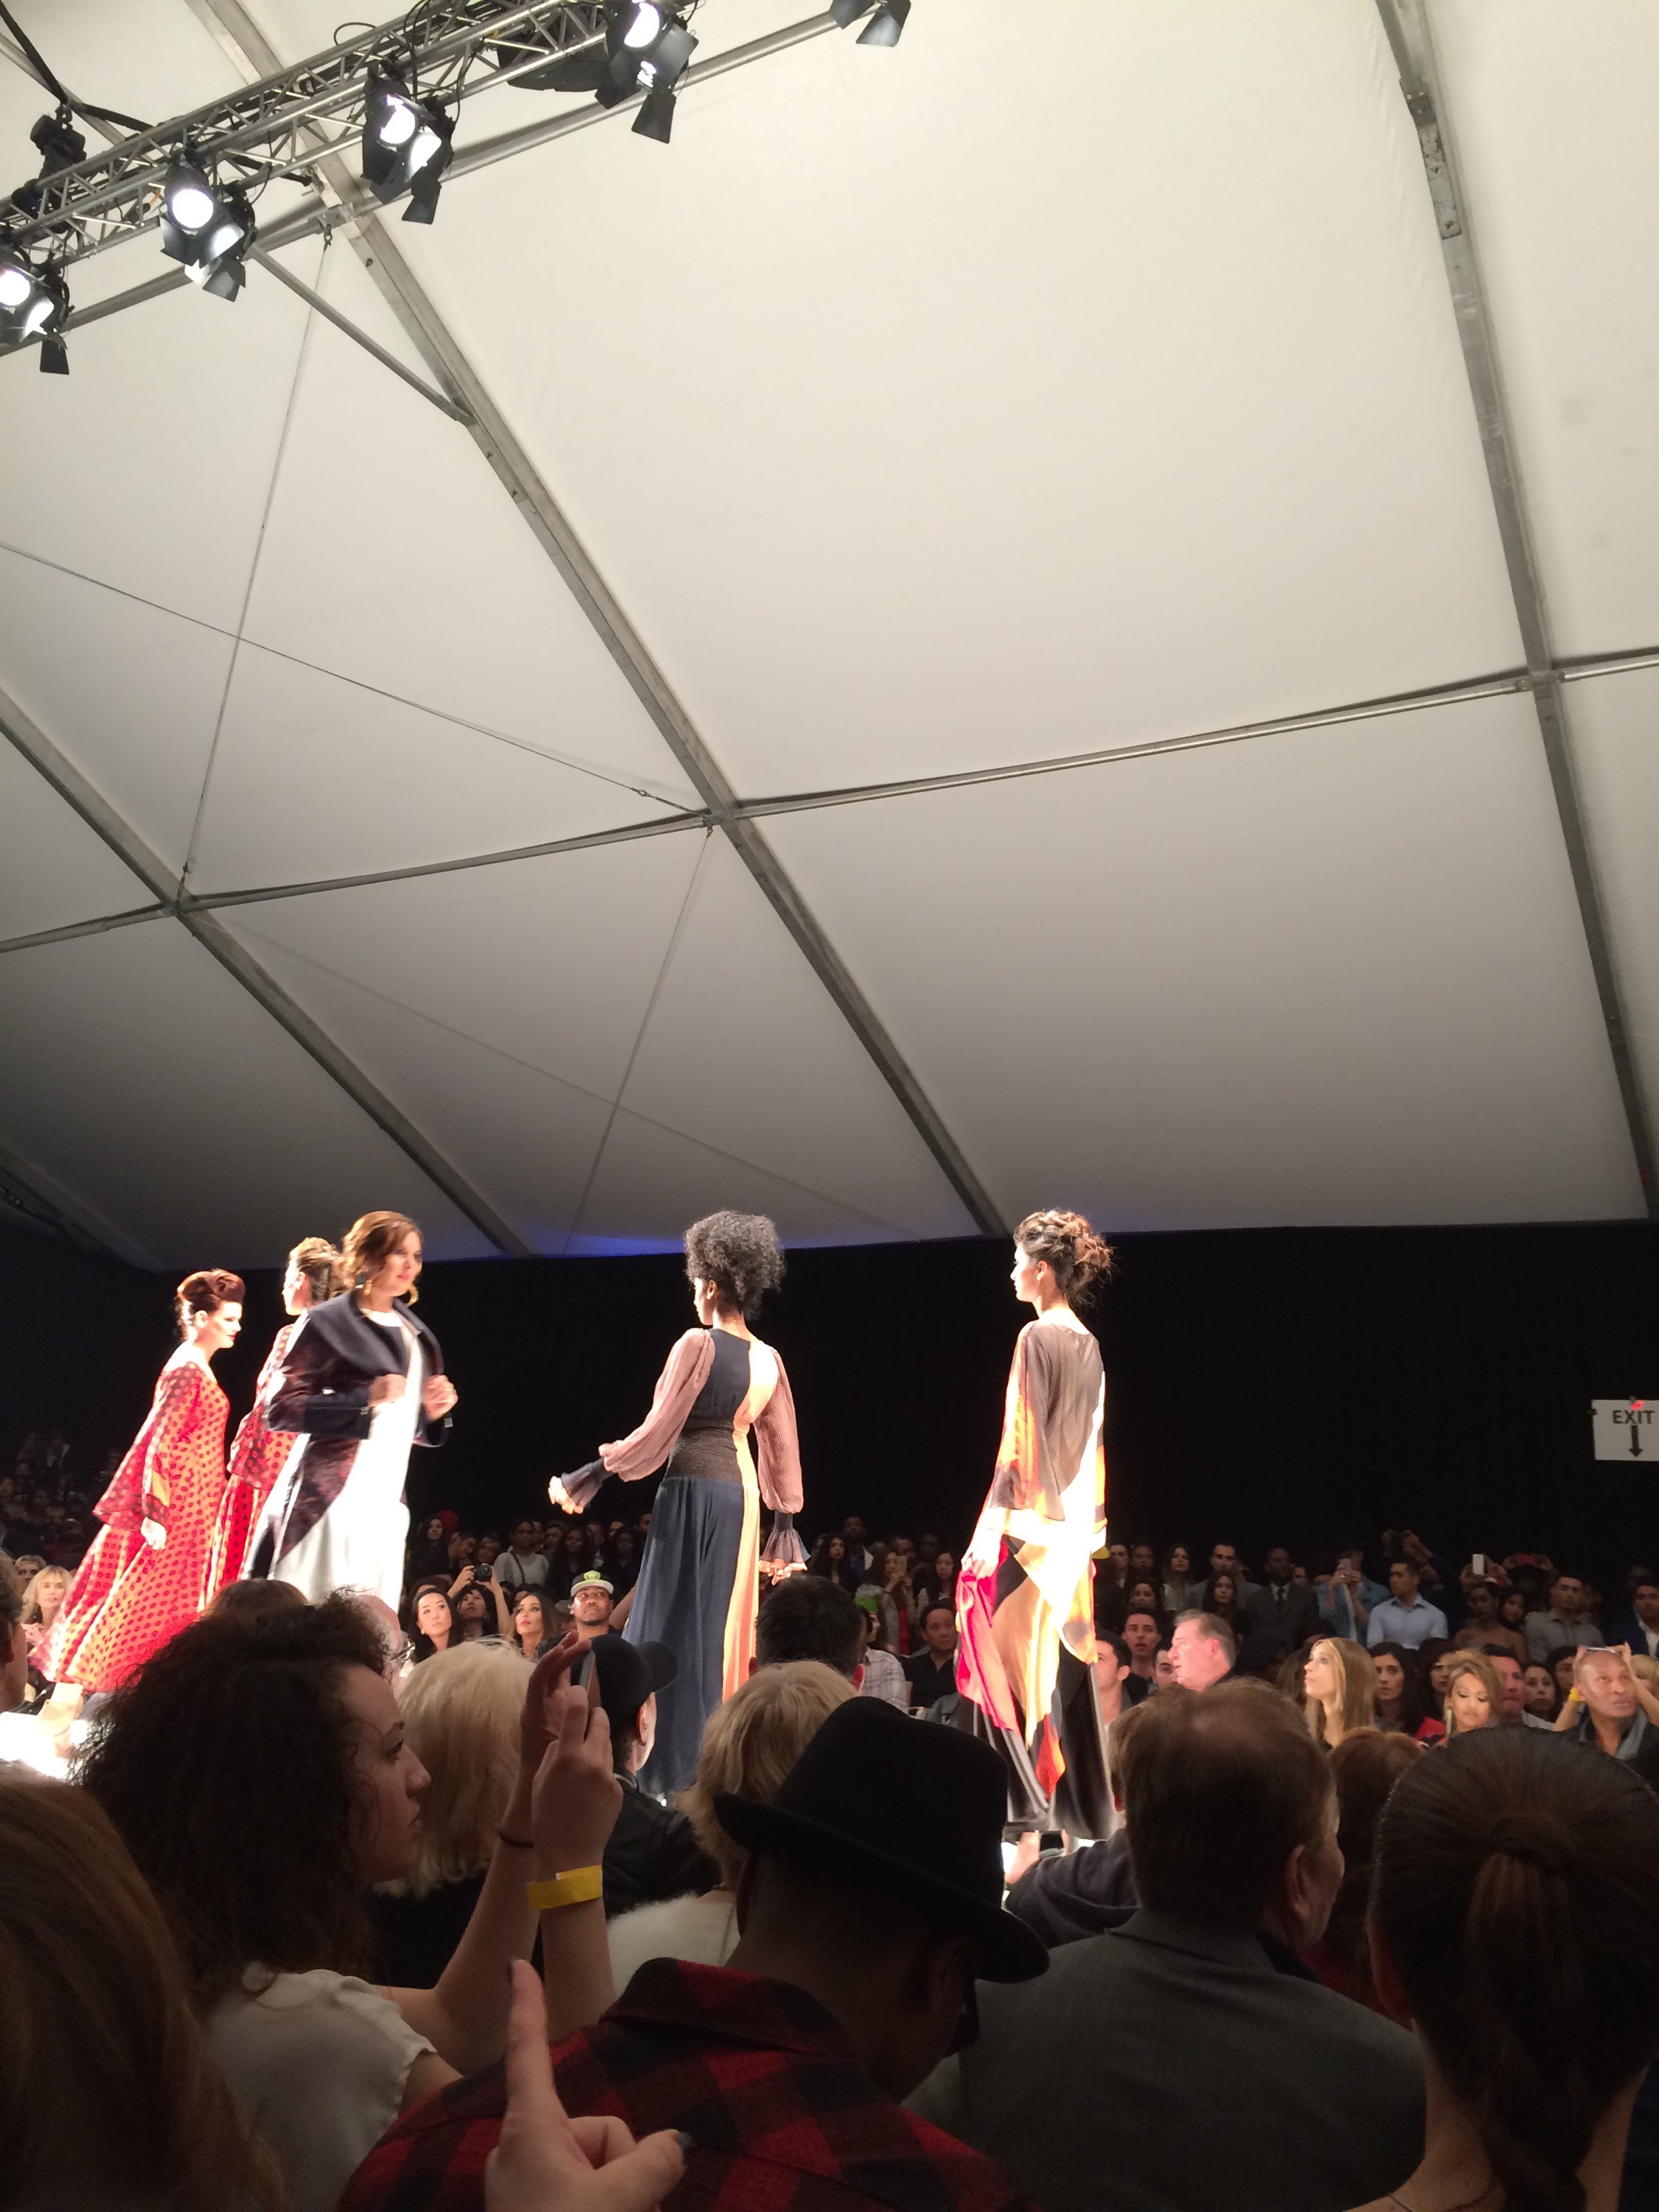
Tatiana Shabelnik:
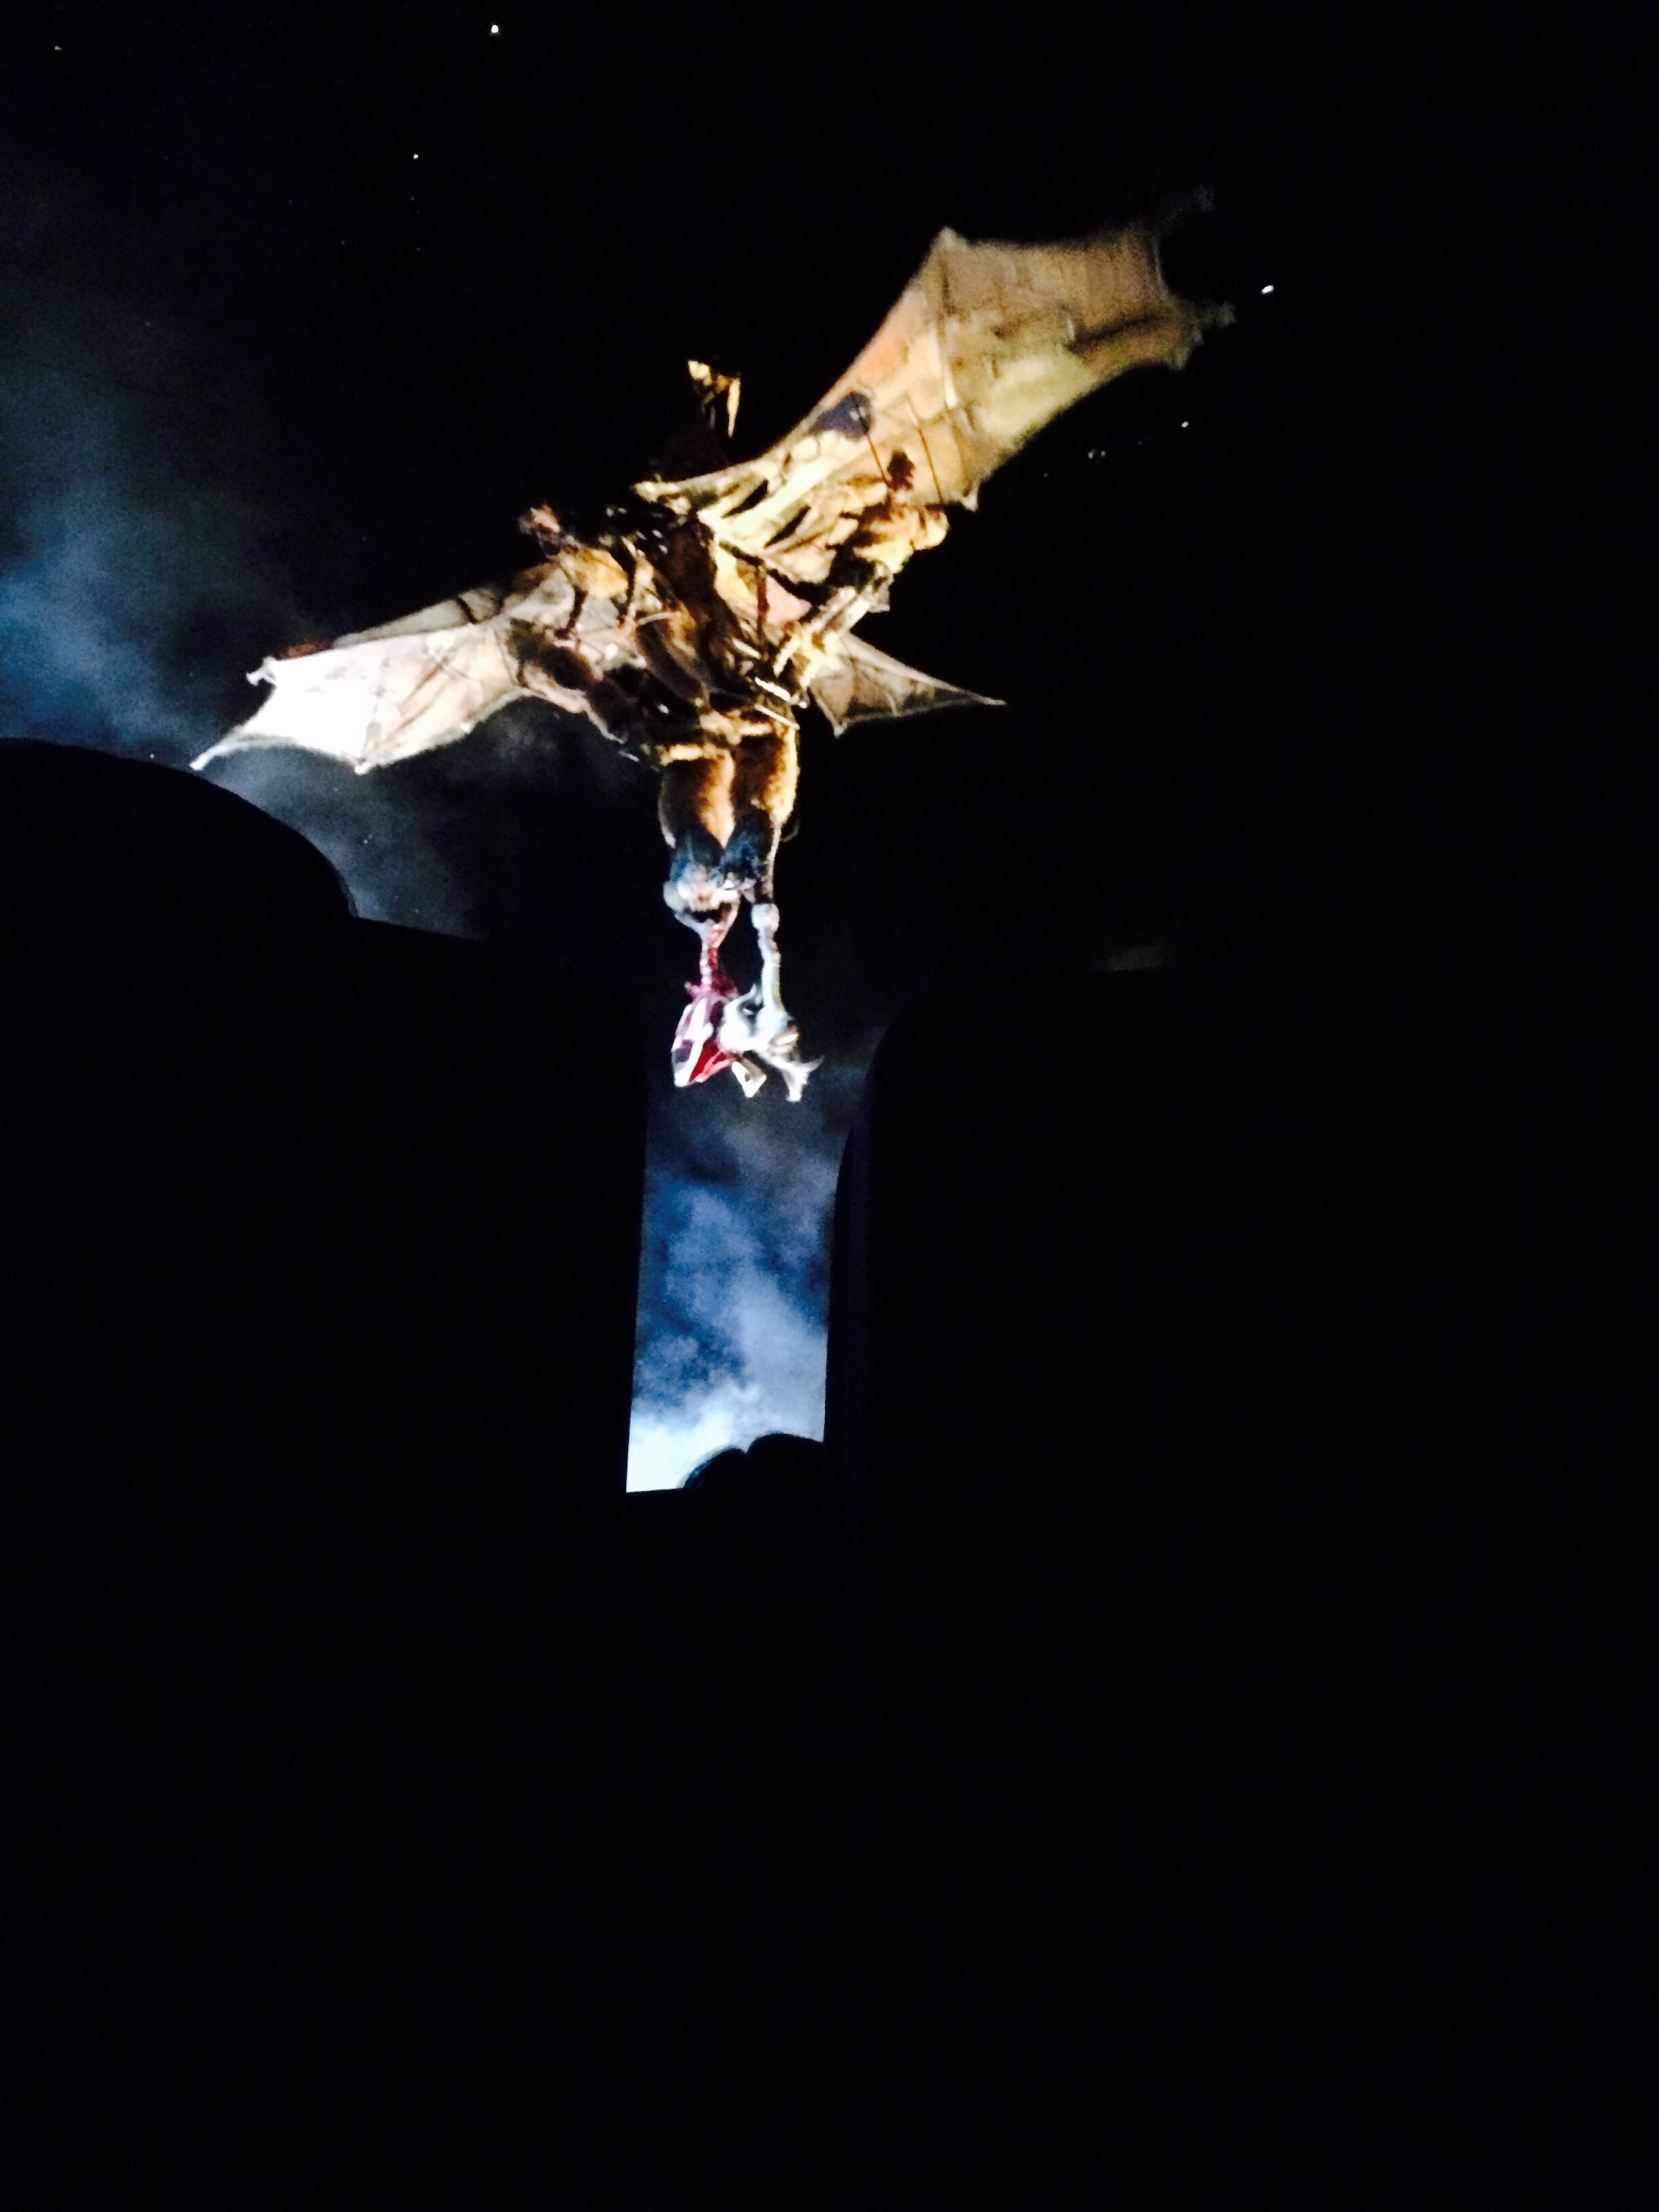
This show was the most whimsical and fun . The collection was colorful and vibrant . It began with a model dancing onto the stage wearing a stunning dress. Then, a man model joined her and they performed a lovely dance/walk. The music was energizing yet traditional. This collection had ensembles with different textures, patterns, and colors. All of it coherently worked well with each other. Some of the looks were a little bit medieval/fairytale looking. Overall, I loved the uniqueness to this show.


<a
All of the pictures were taken by me on my iPhone 5s unless otherwise stated.
Xoxo,
Shiza❤️


